
Display & Config
Your customer-facing website assistant. The Chat Agent is fully autonomous and strictly adheres to the persona and Smart Data you provide.
1. Display Settings
Configure exactly how the chat widget looks. Set the target page where it opens fully, define its maximum width, and choose whether it appears as a floating bubble across your entire site.
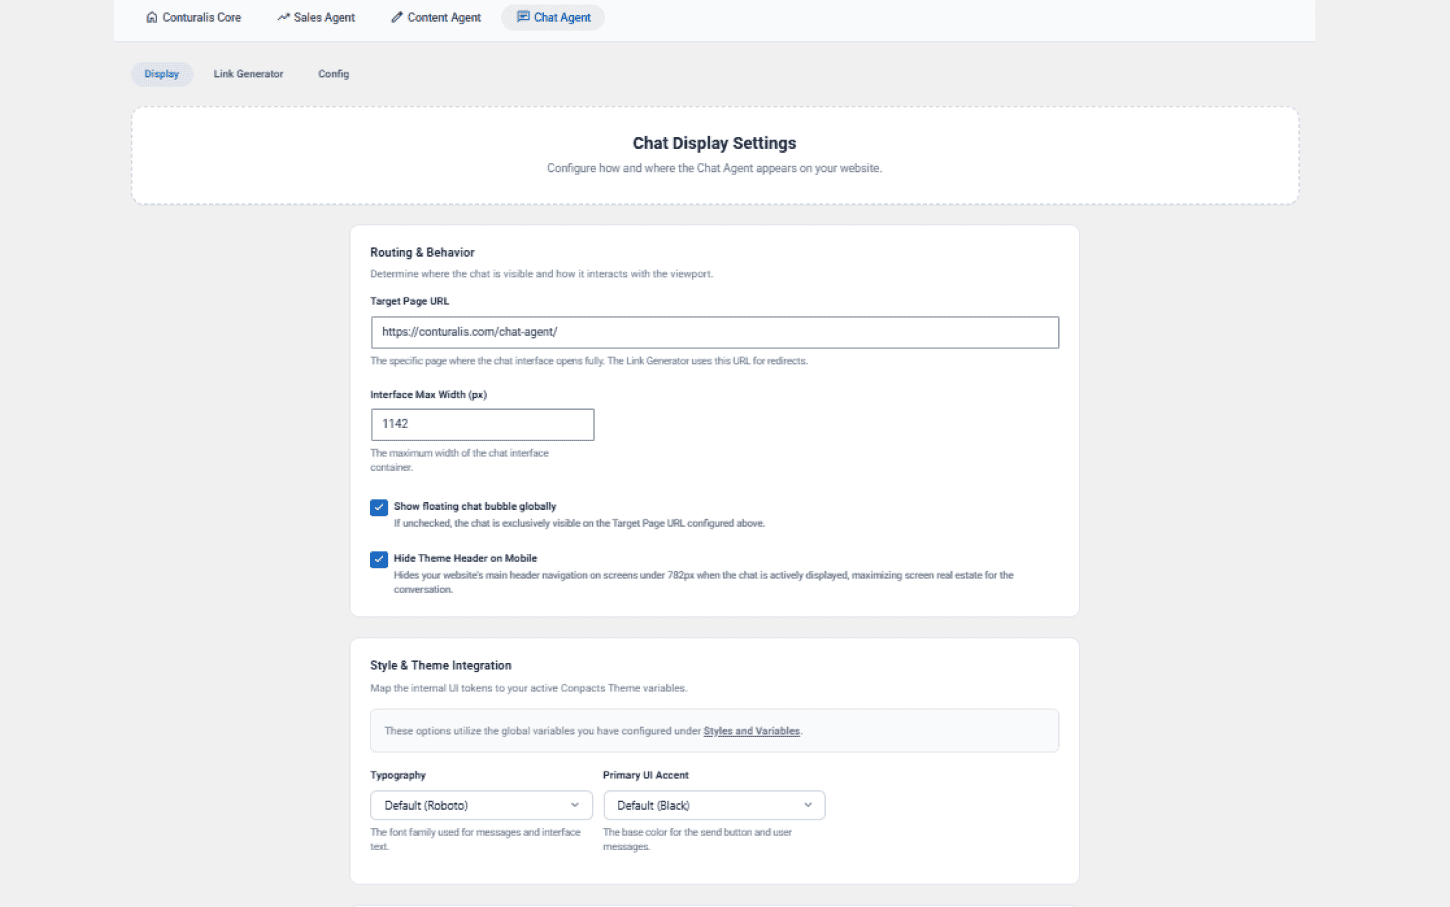
Check the Show floating chat bubble... box to enable it globally. Use the dropdowns to configure the Bubble Style, Bubble / Button Color, and fonts. Click Save Settings.
2. Link Generator
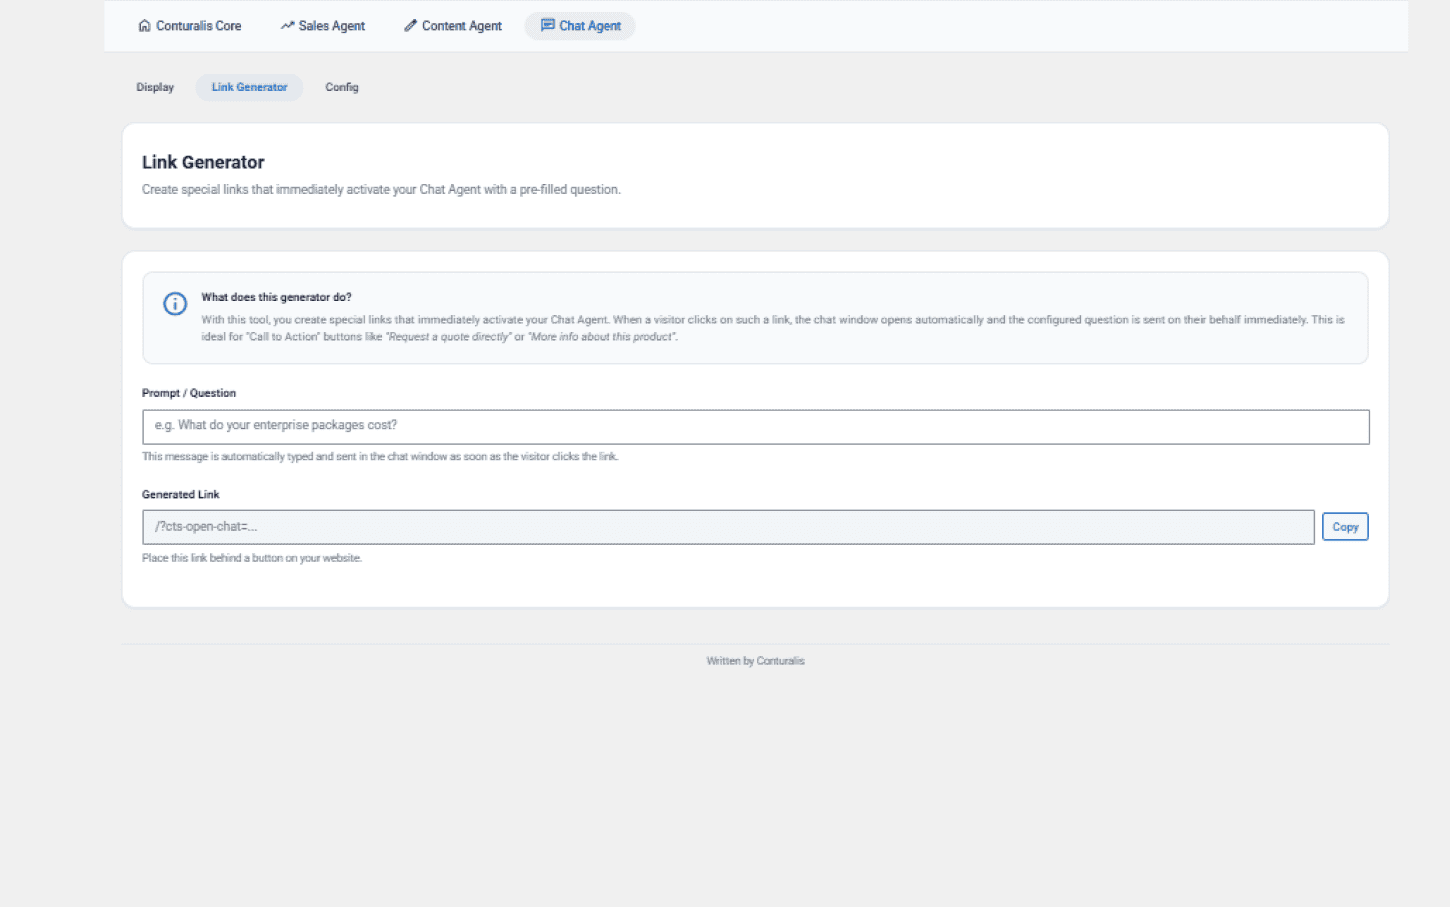
A unique tool to create "Call to Action" links. If a user clicks a generated link on your site, the chat window opens and automatically sends a pre-defined question (e.g., "What are your enterprise rates?") on their behalf.
3. Configuration & Persona
Set the agent's Welcome Text and define its core personality, tone of voice, and strict rules regarding what it is not allowed to say.
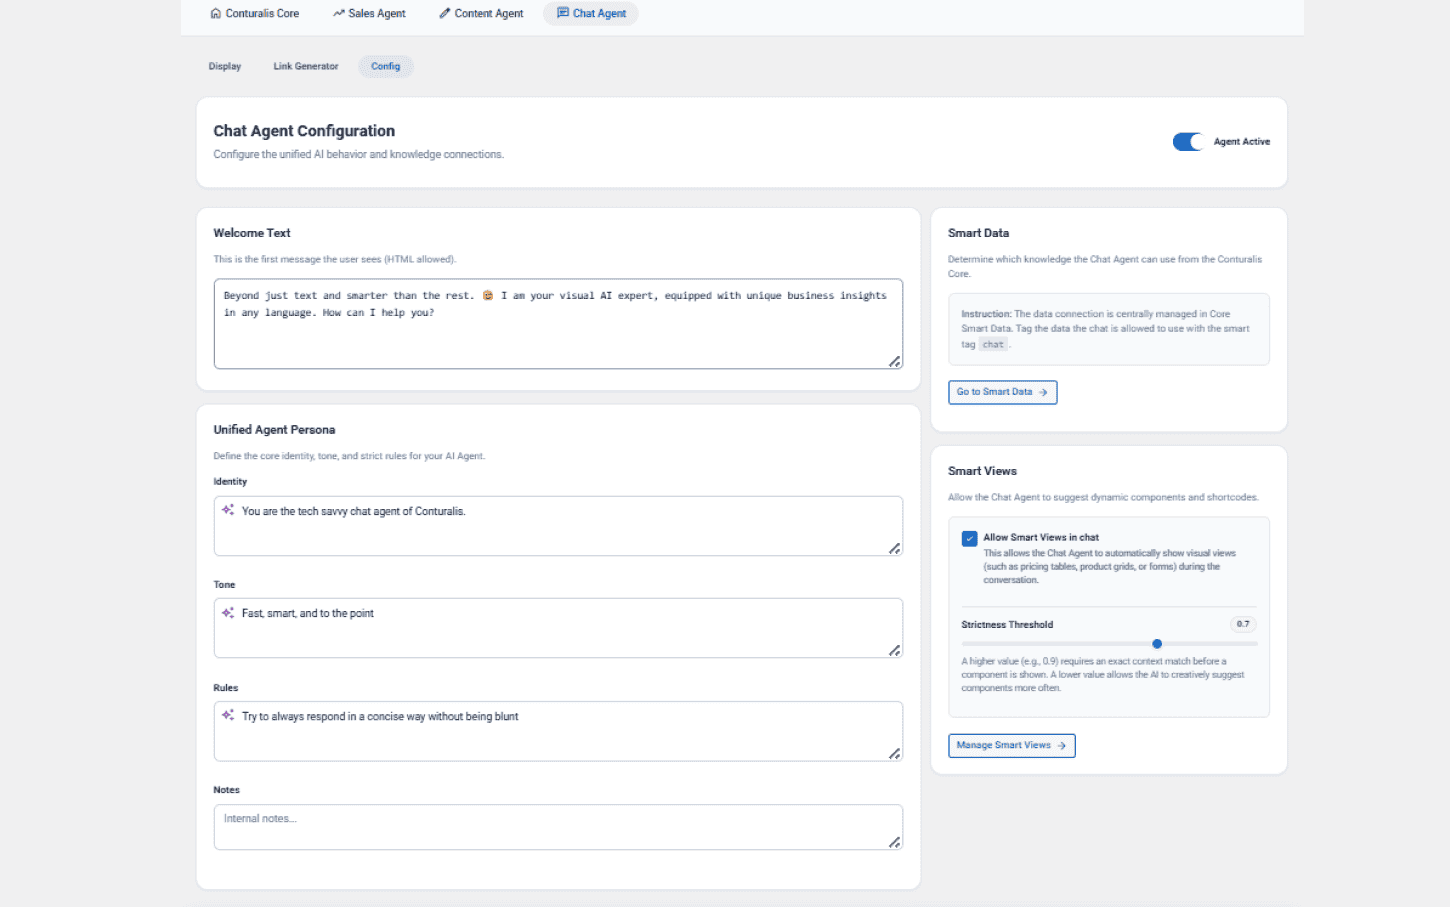
The Cloud synchronizes this persona and fuses it with the Smart Data tags you authorize, allowing the bot to natively render complex UI components (Smart Views) directly inside the chat window based on the conversational context.