
Style Presets
Style Presets decouple visual styling from content data. They allow teams to enforce consistent brand guidelines, eliminate design system fragmentation, and provide automated AI generation pipelines with battle-tested visual blueprints.
1. Accessing Smart Views & Component Registry
Navigate to Conturalis > Smart Views > Smart Components to inspect every component registered across your environment. The system scans component files dynamically and compiles them into a unified catalog.
Whenever you add new custom components, install library bundles, or alter property schemas, click the Synced status button in the bottom utility bar to trigger an immediate cache flush and registry rebuild (Conturalis_Registry::sync_now()).
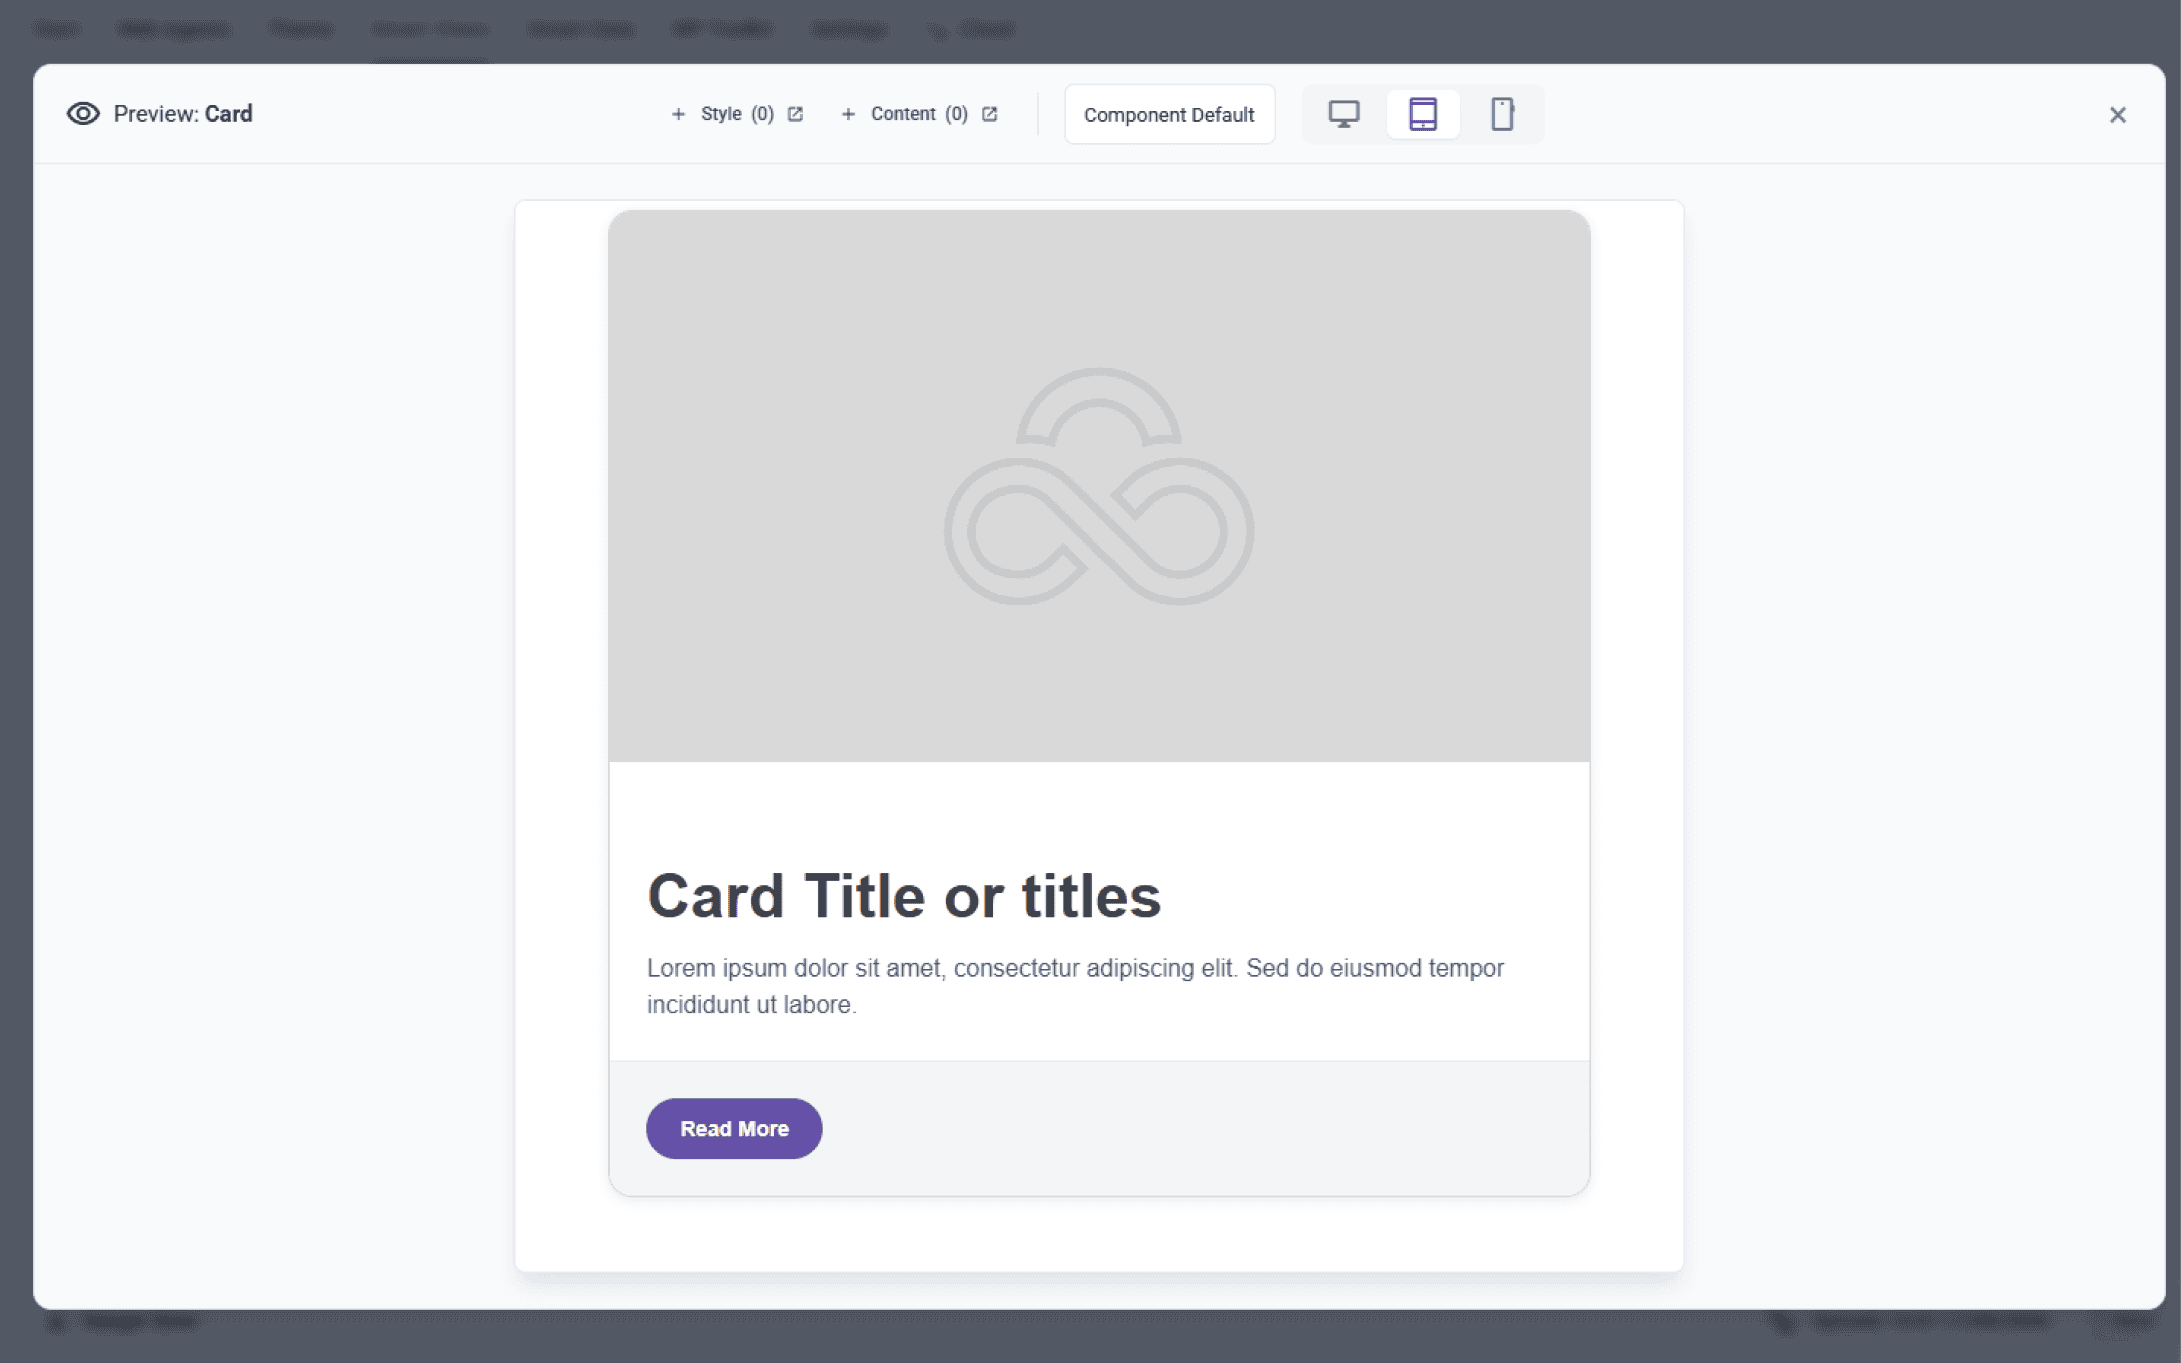
To inspect a component's default DOM structure, typography scale, and responsive behavior without opening an editor, click the Preview (Eye) icon directly beside any component name.
2. Managing Component Presets
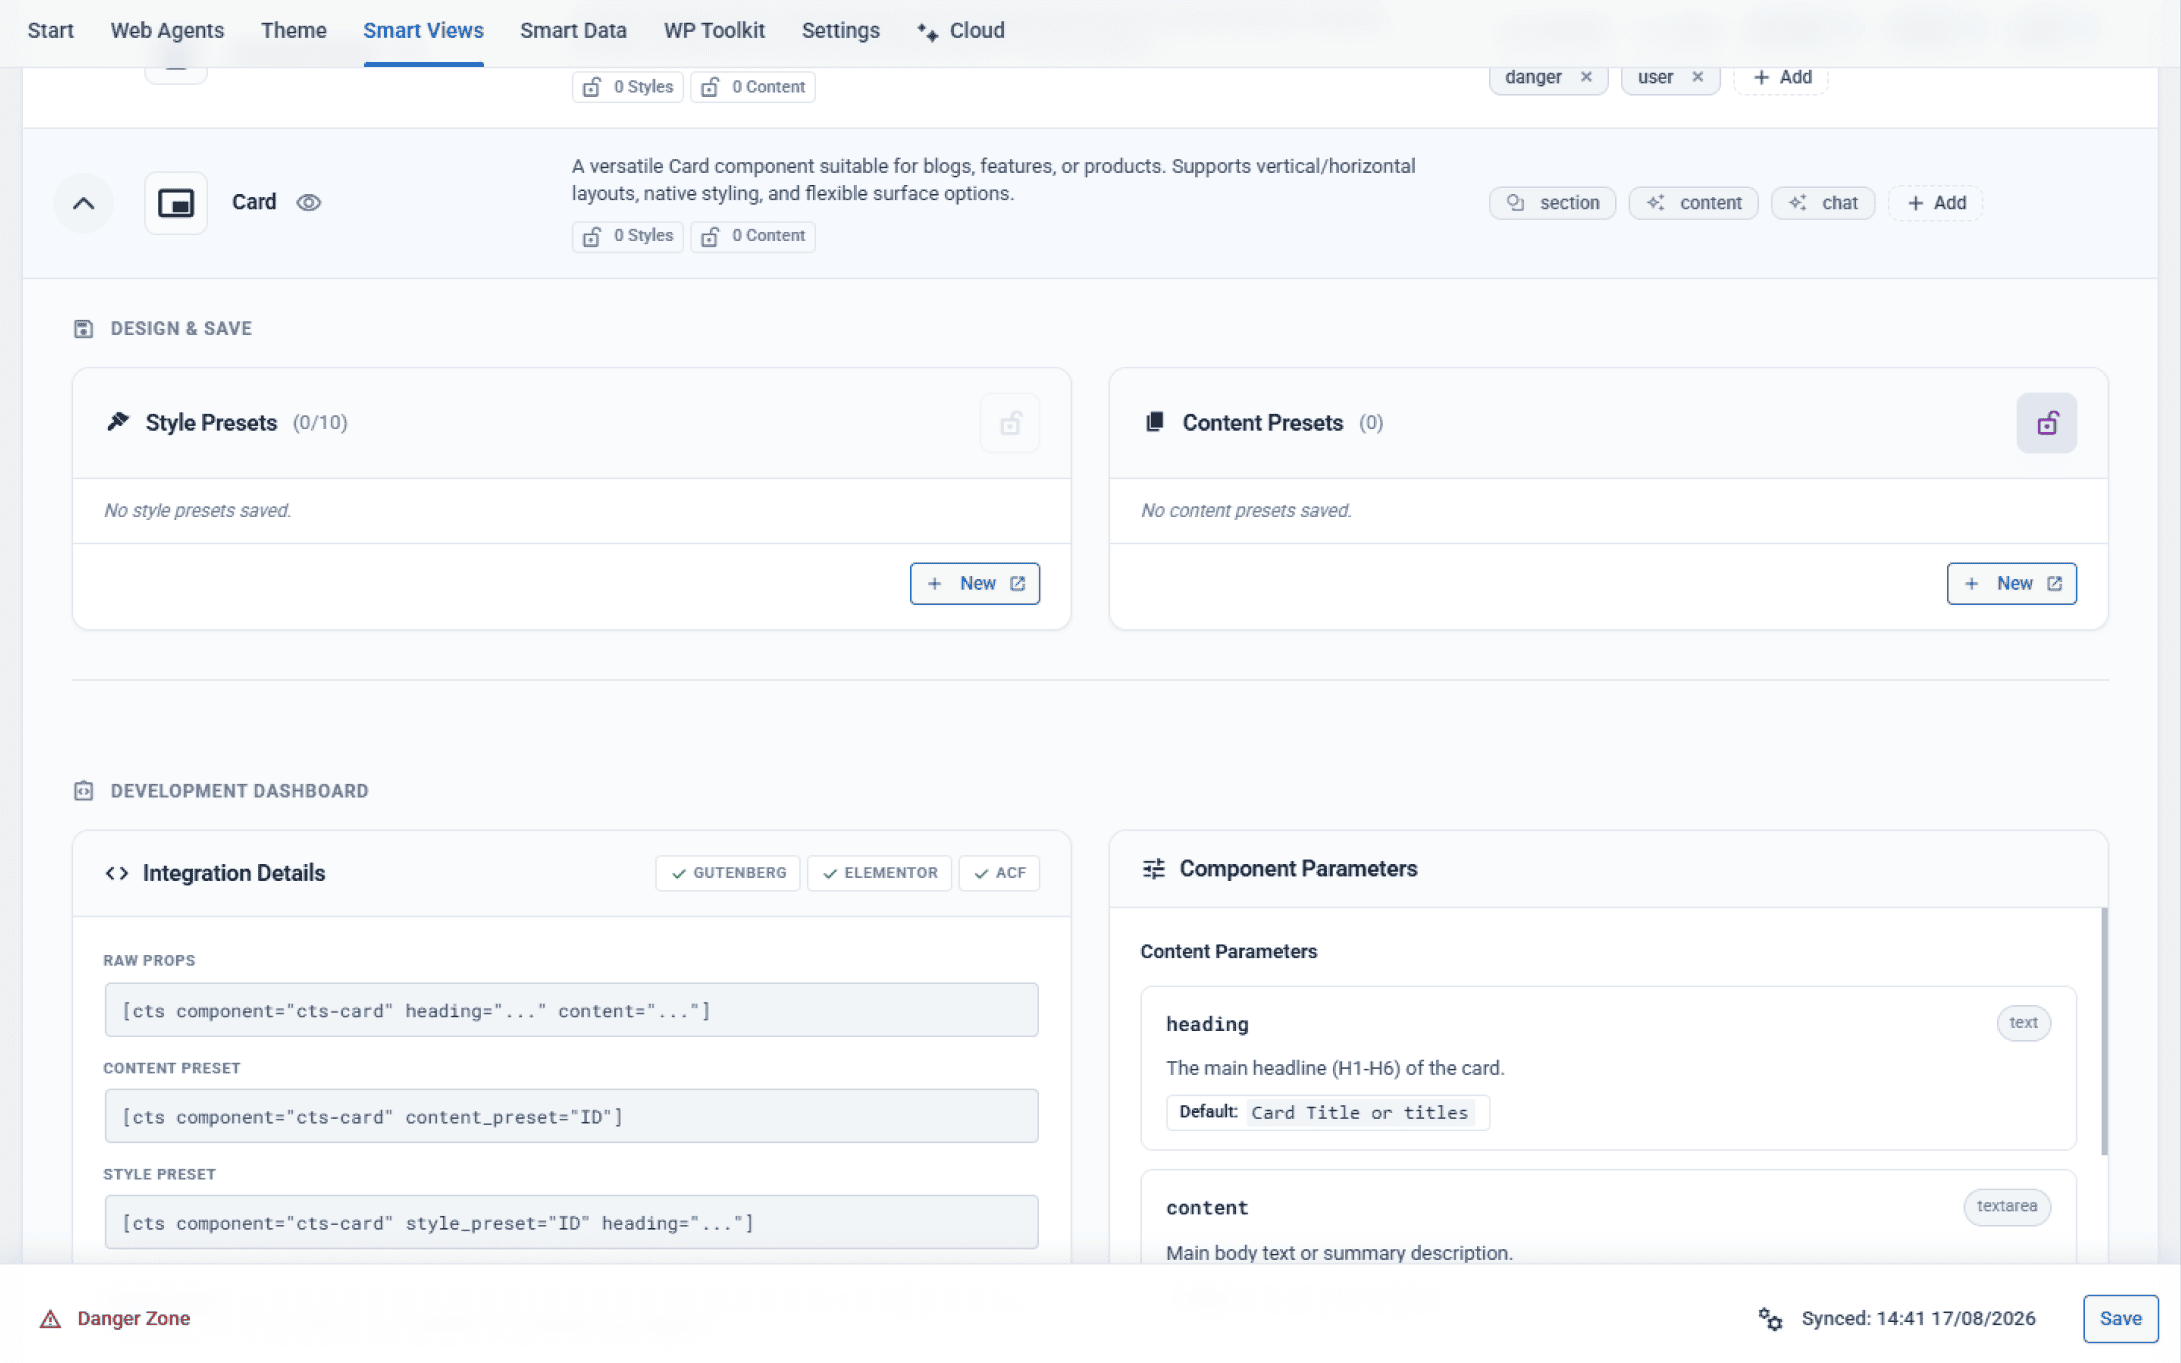
Click any component row to expand its operational drawer. The Design & Save section divides configuration into two distinct layers:
- Style Presets: Store layout structures, container widths, colors, borders, and animations.
- Content Presets: Store static text, default media, button URLs, and attached style mappings.
3. Building Presets with Native Gutenberg
Click the + New button inside the Style Presets card. This launches the dedicated Gutenberg Preset Canvas (cts_component_preset Custom Post Type). Gutenberg acts as the visual authoring engine for all Smart Component presets.
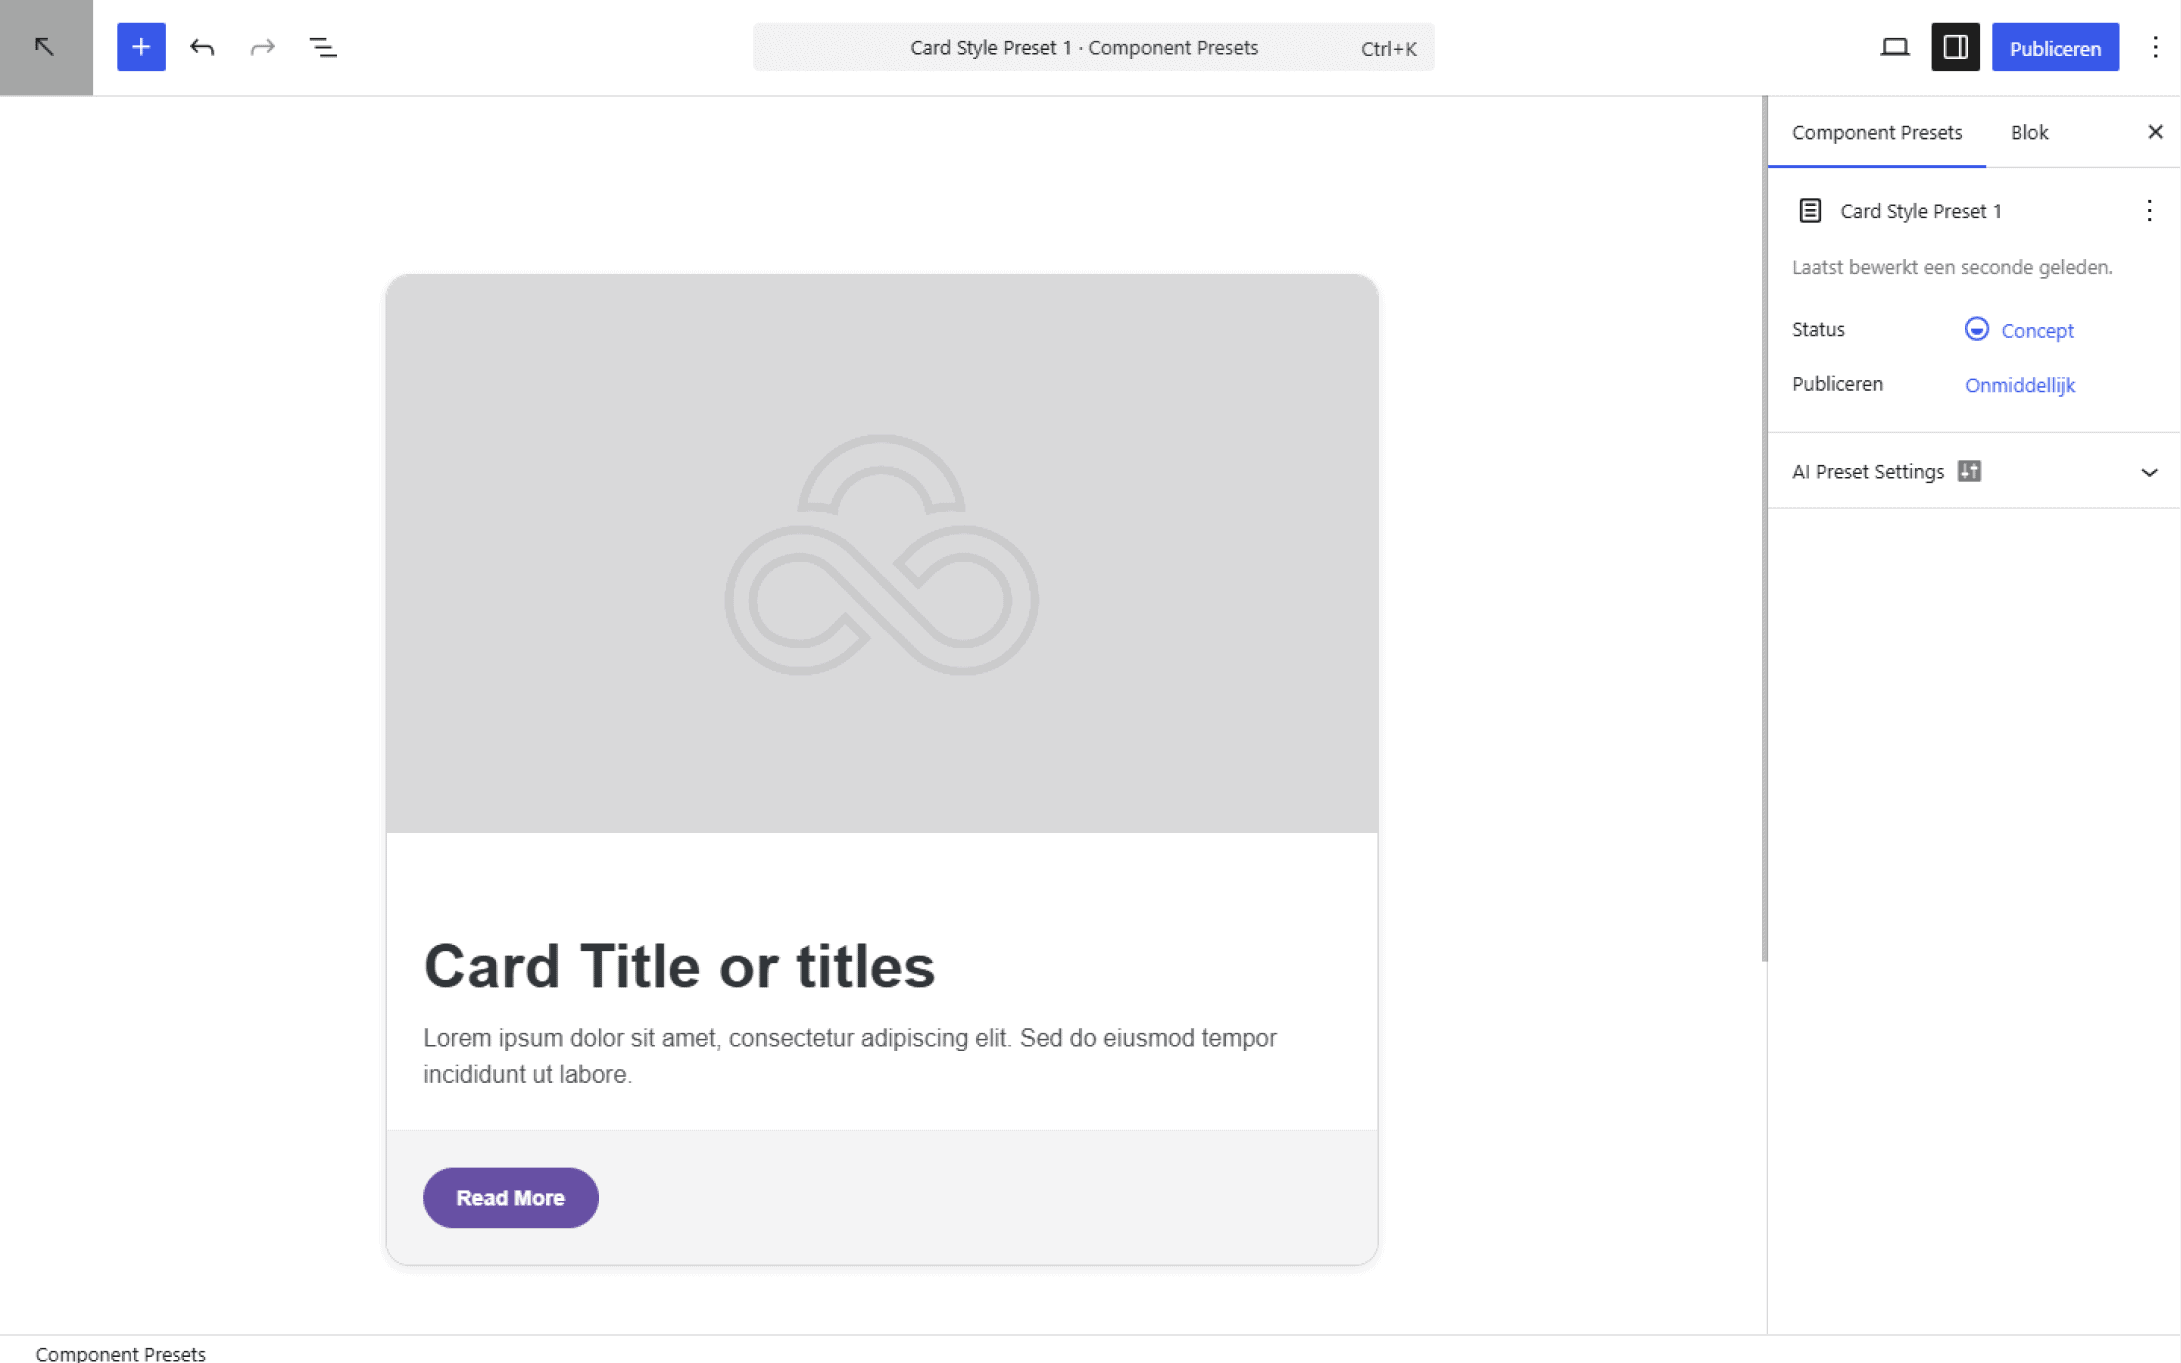
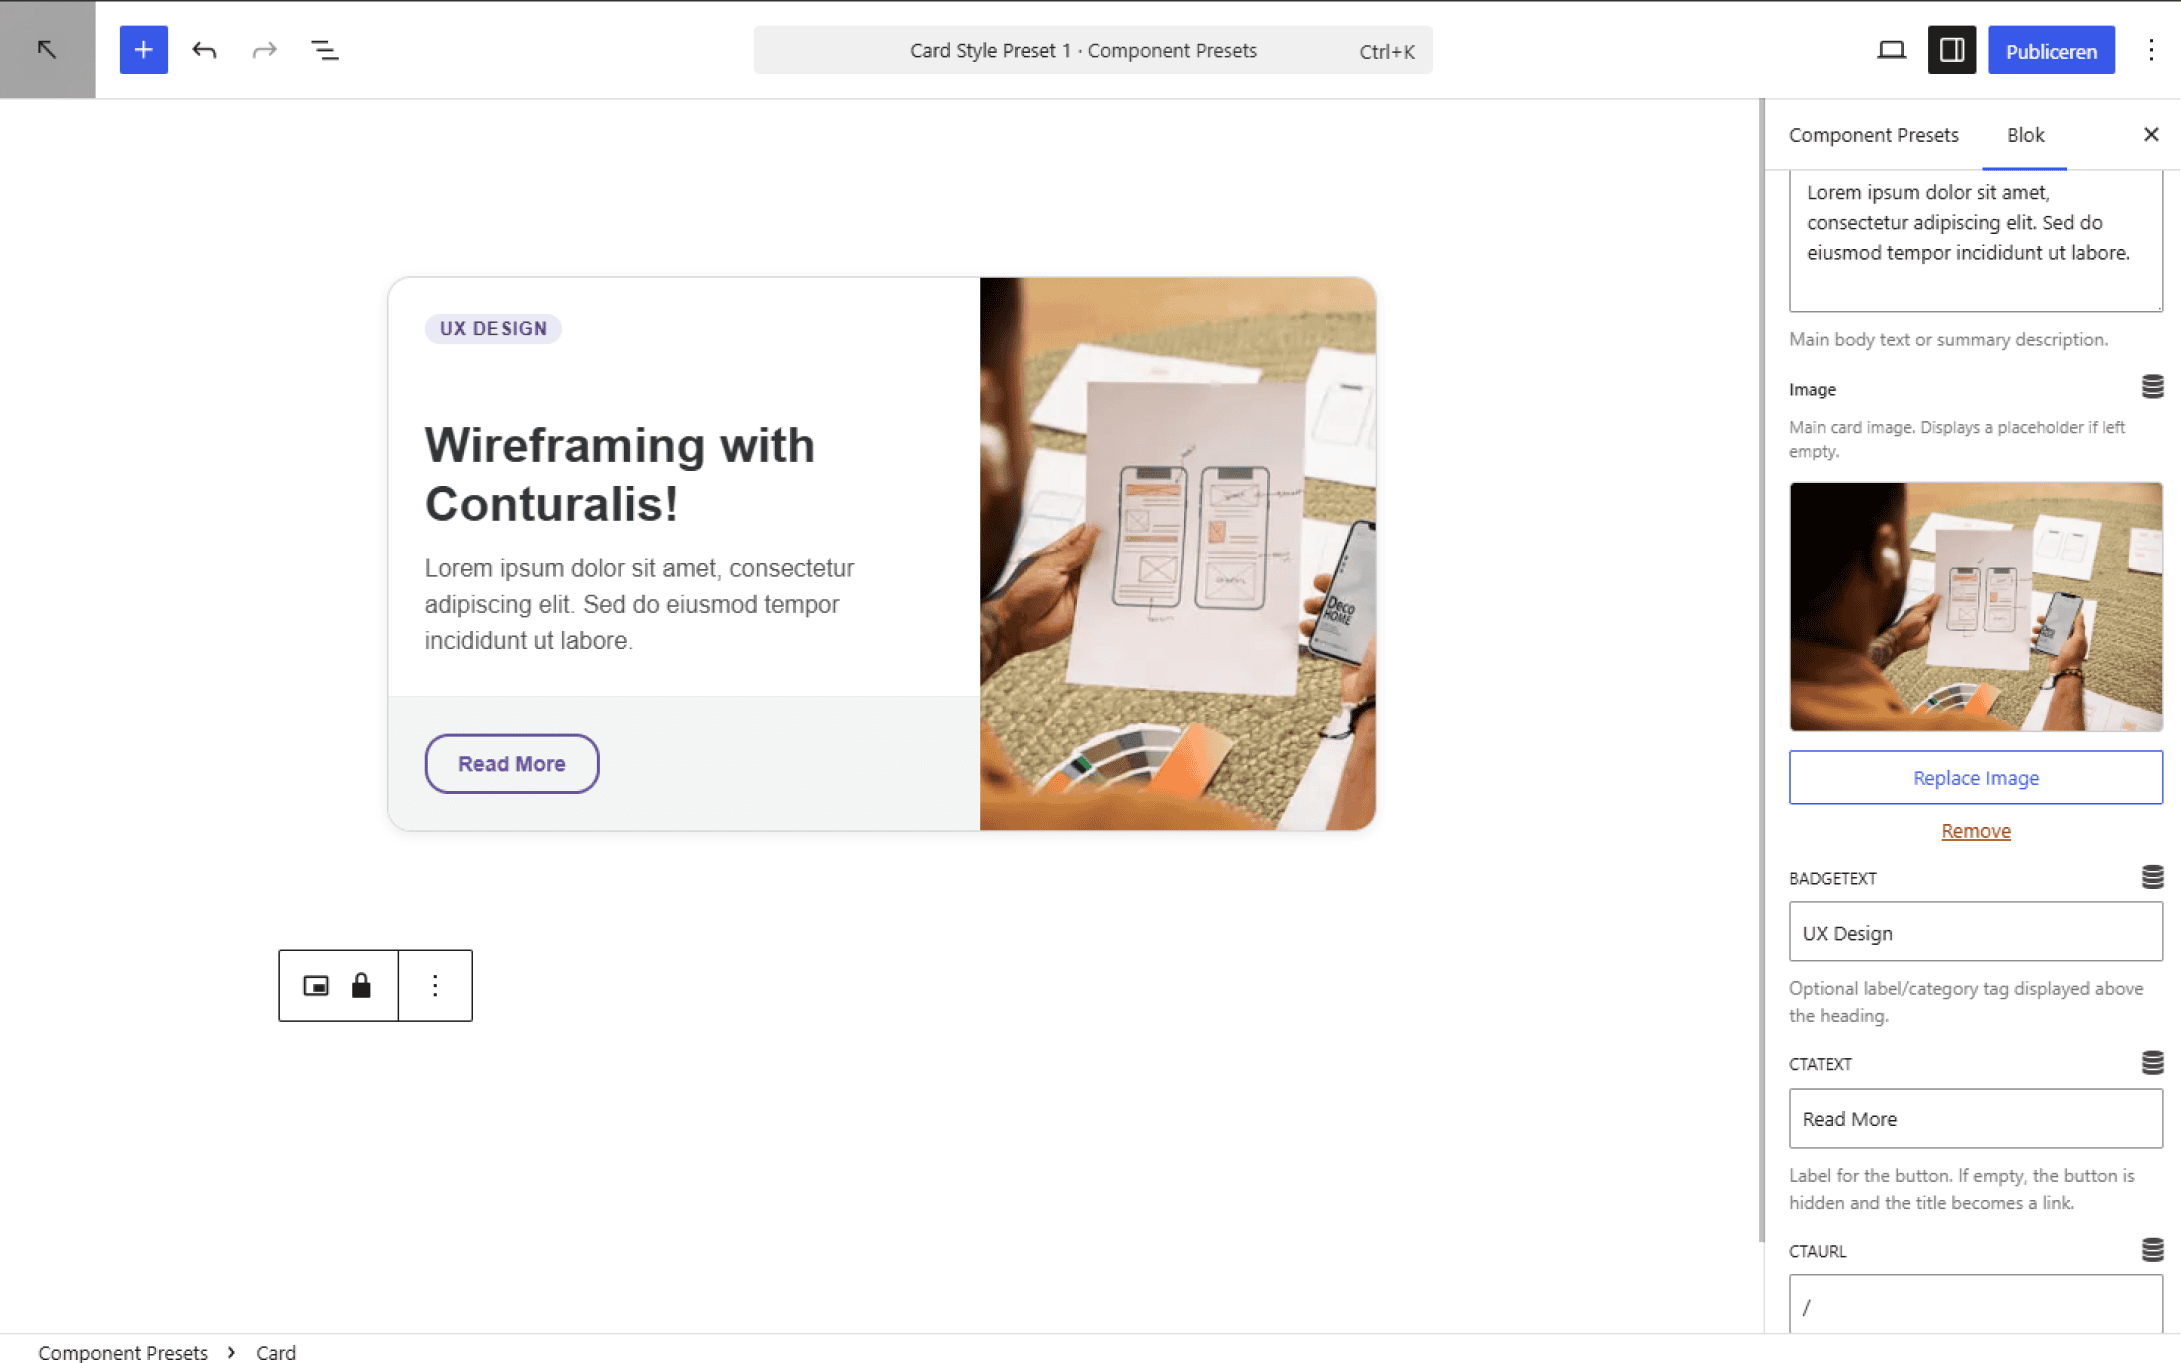
When building a Style Preset, any content properties (such as headlines, descriptions, or imagery) exist purely for visualization within the editor canvas. The Conpacts engine automatically isolates and saves style attributes, discarding all dummy content during publication.
4. Providing AI Context & Naming
To ensure automated agents (Content Agent, Chat Agent, and Sales Agent) choose the right preset for specific contexts, establish clear metadata:
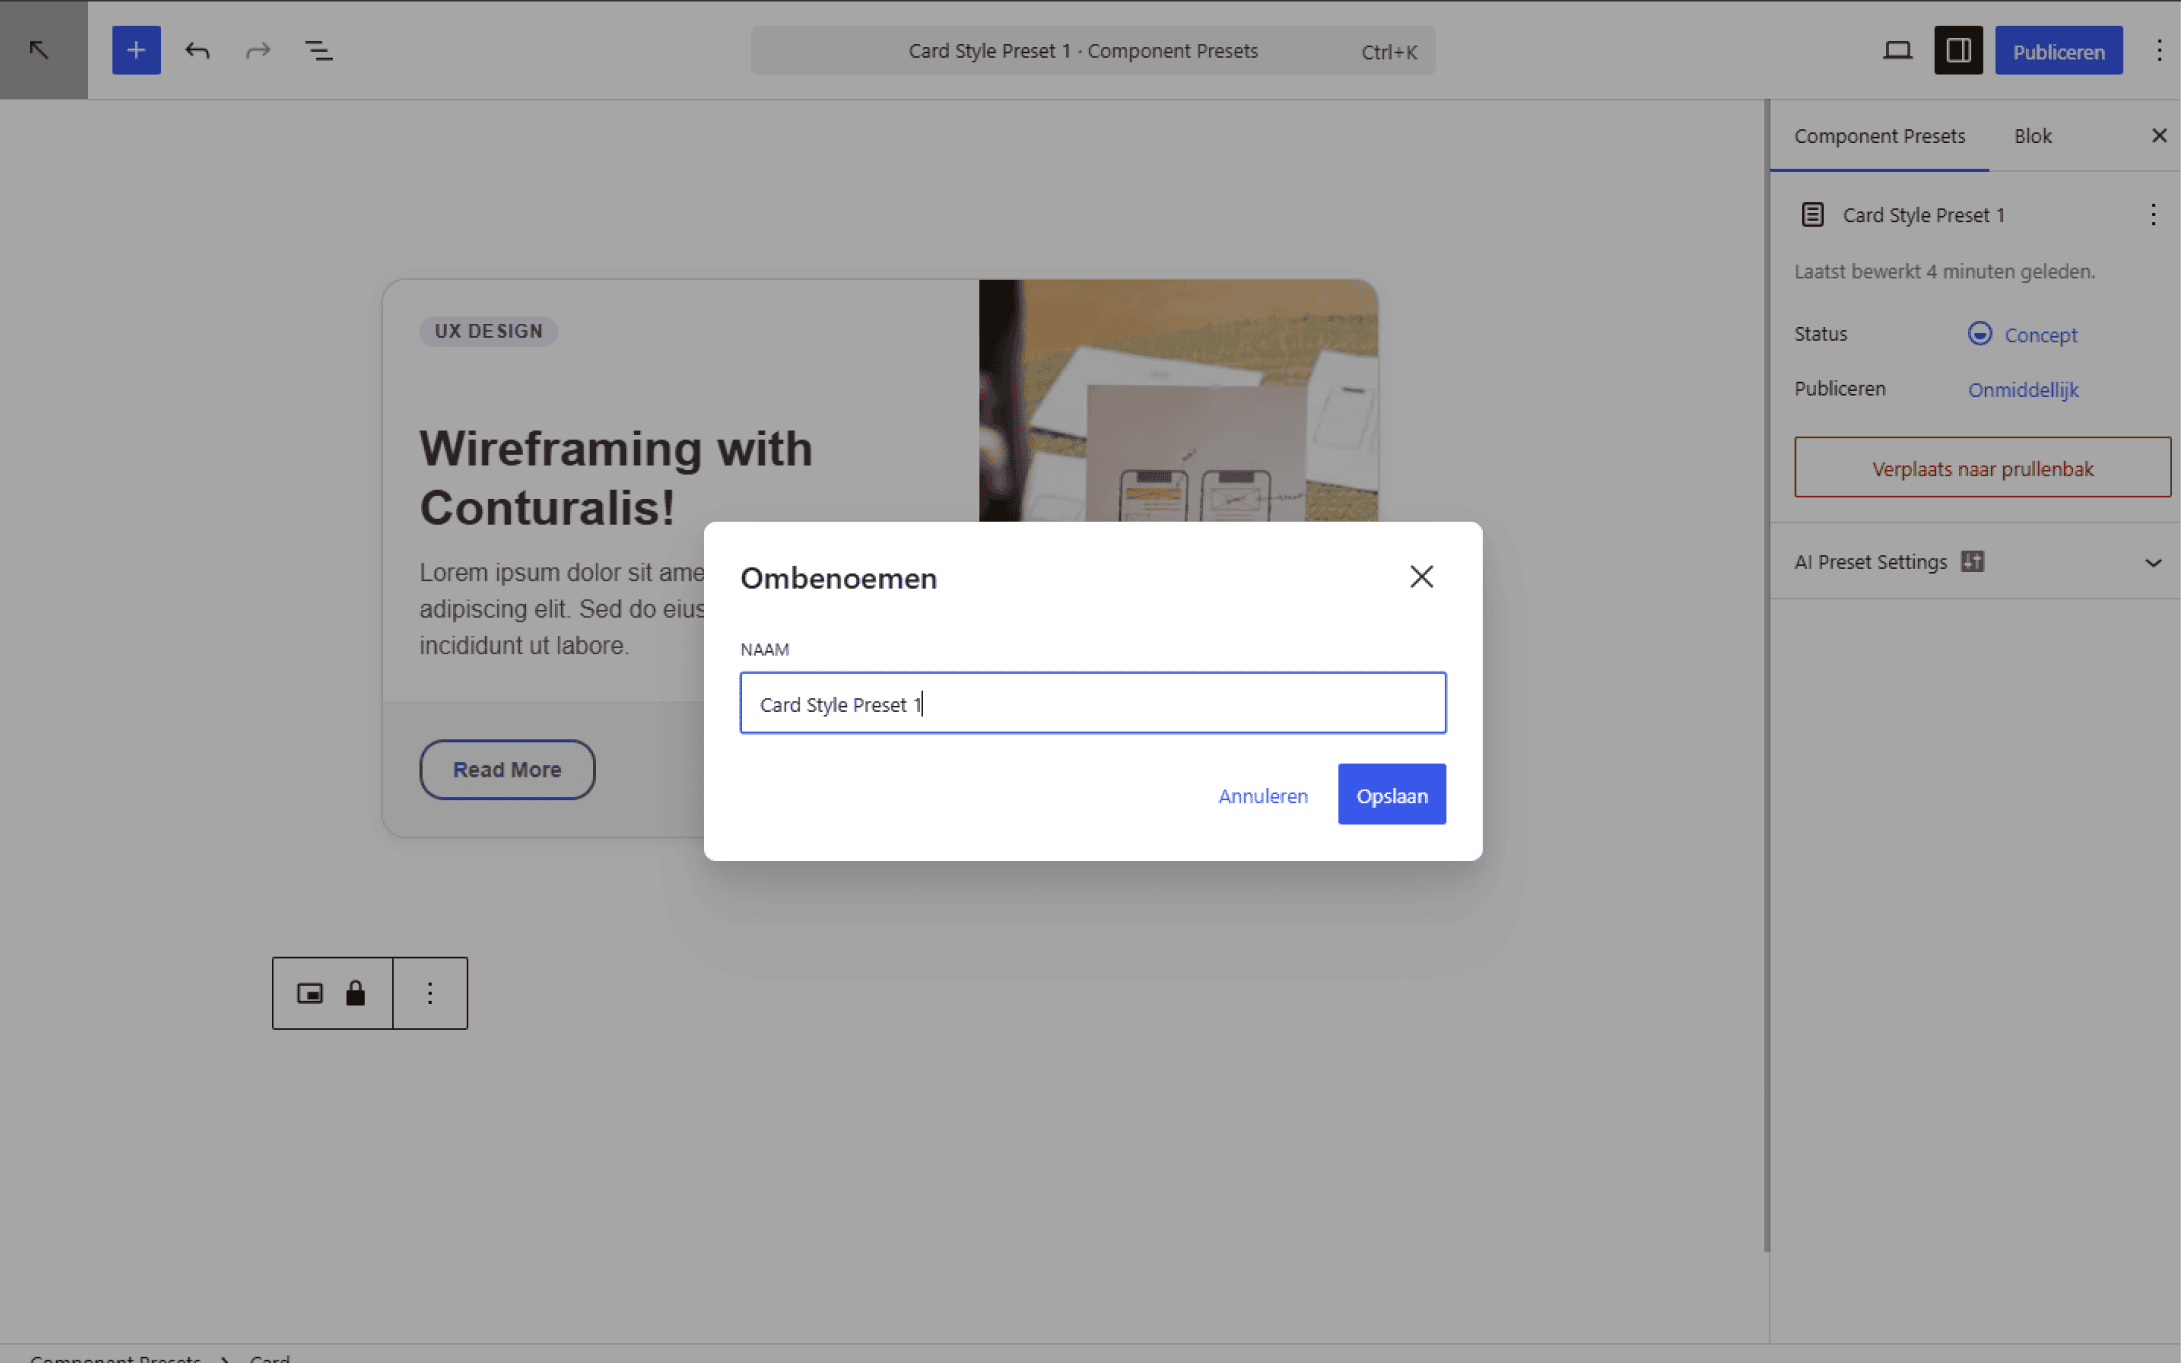
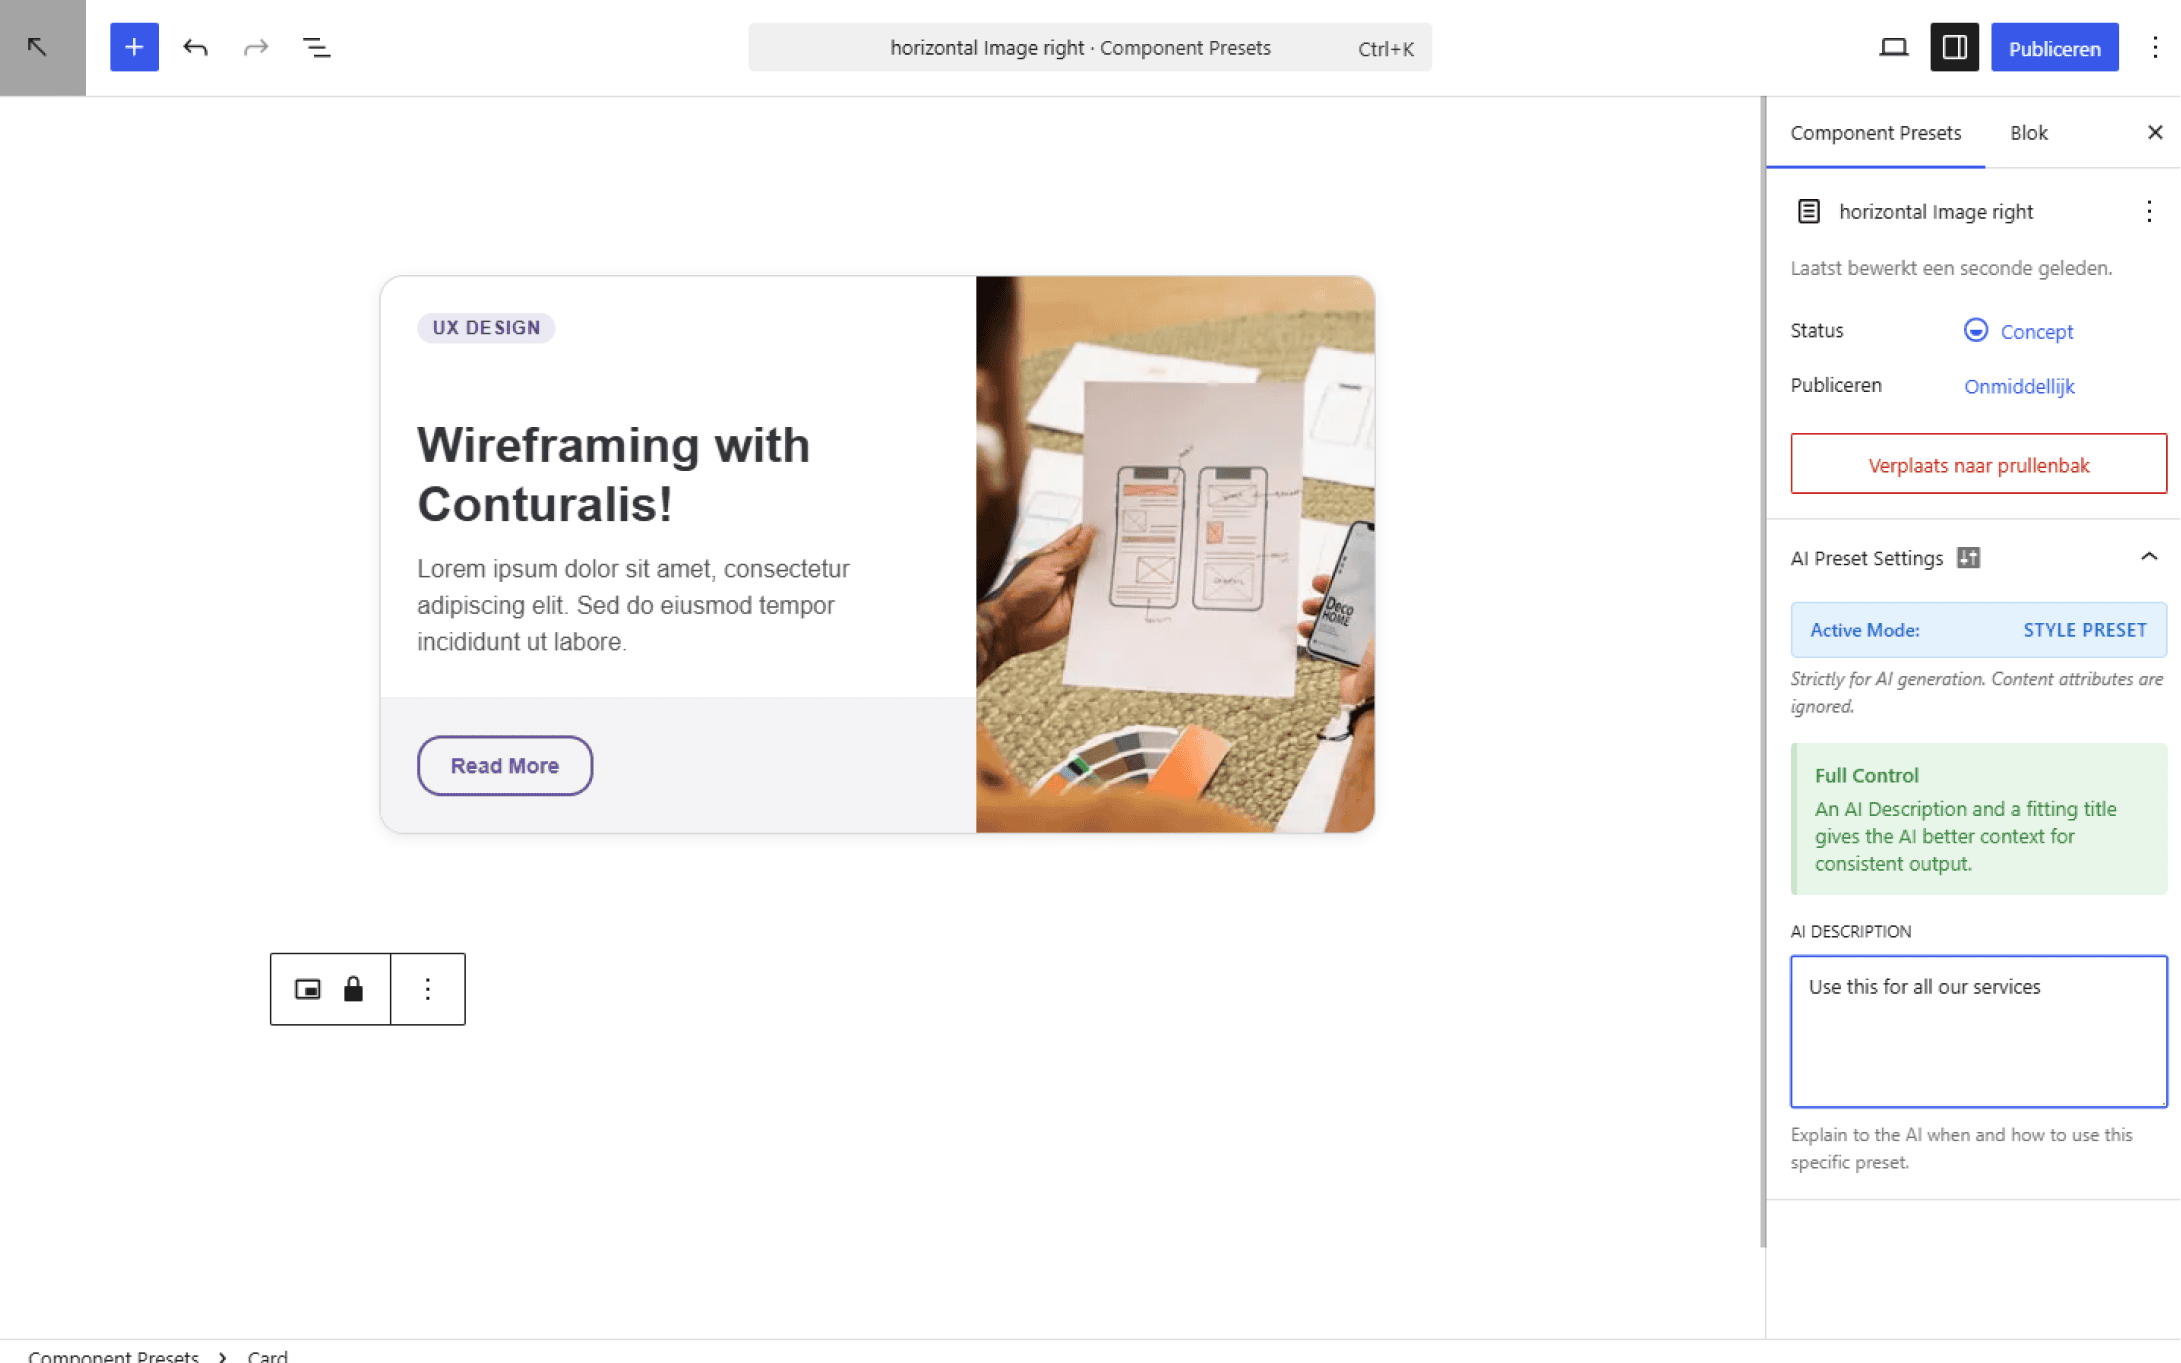
- Descriptive Title: Assign a functional, layout-driven name (e.g., horizontal Image right, Centered Minimal Dark).
- AI Description: Open the AI Preset Settings panel in the Document sidebar. Write a concrete explanation detailing when, where, and why the AI should deploy this variation.
5. Locking Presets & AI Enforcement
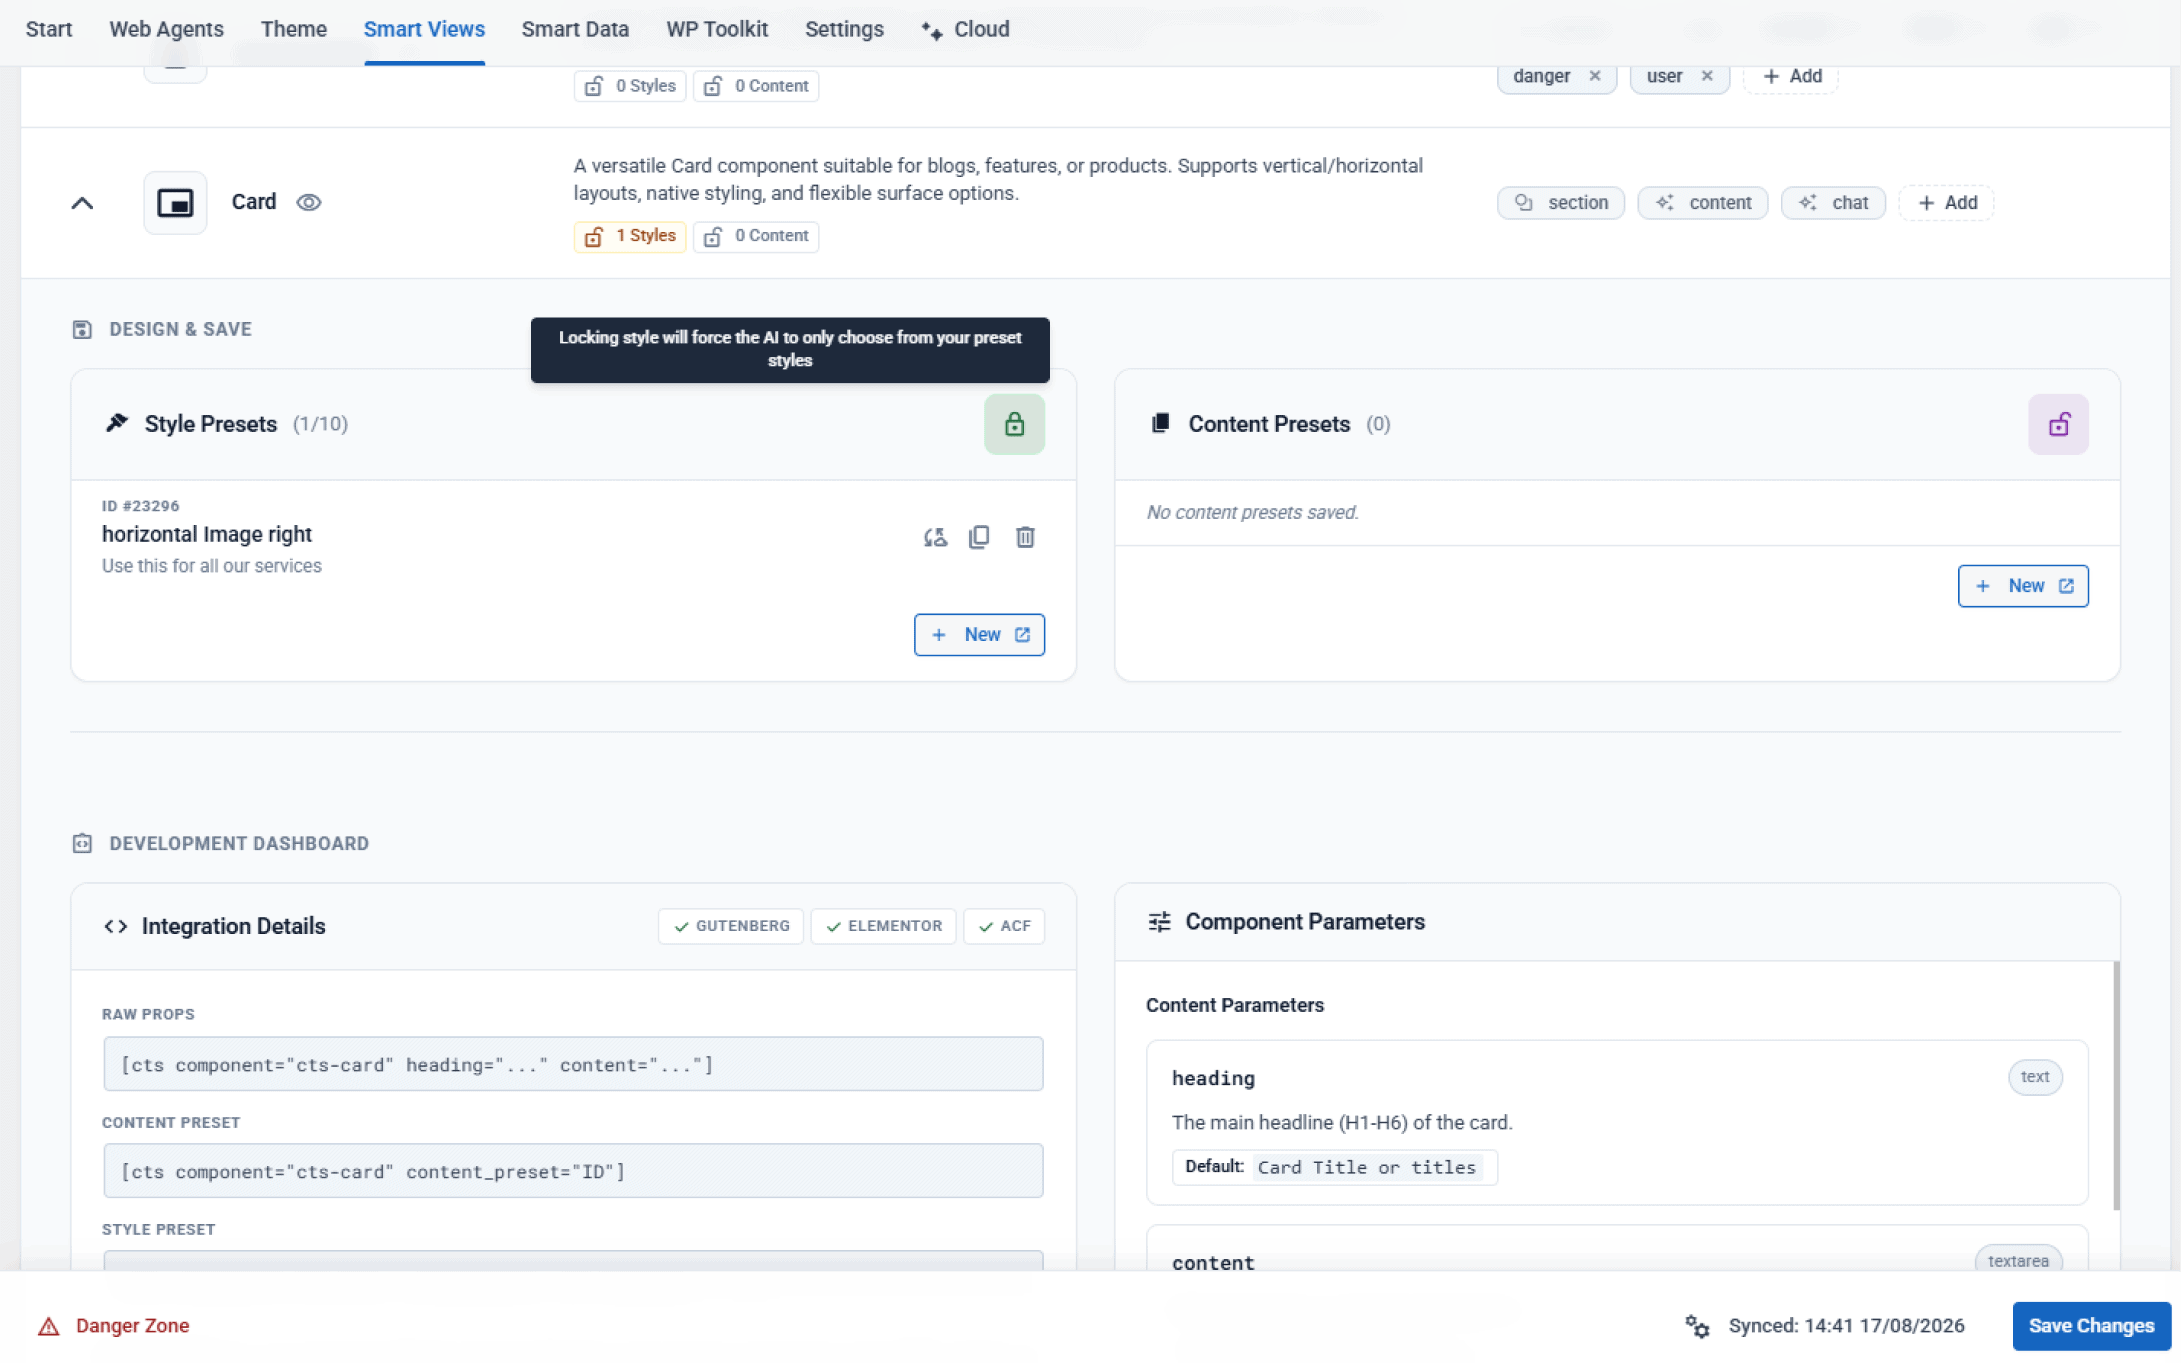
Once you publish your preset variations, return to Smart Views. Each preset panel features an autonomous locking toggle:
- Unlocked State: AI agents are permitted to either select an existing preset or generate inline style overrides on the fly.
- Locked State: AI agents are strictly forbidden from generating custom inline styles and MUST select from your registered Style Presets.
Conturalis Best Practice: Author 2 to 4 distinct style presets per component (e.g., light surface, dark surface, split layout) and lock the style panel to eliminate visual hallucinations and maintain strict design consistency.
6. Persisting Configuration
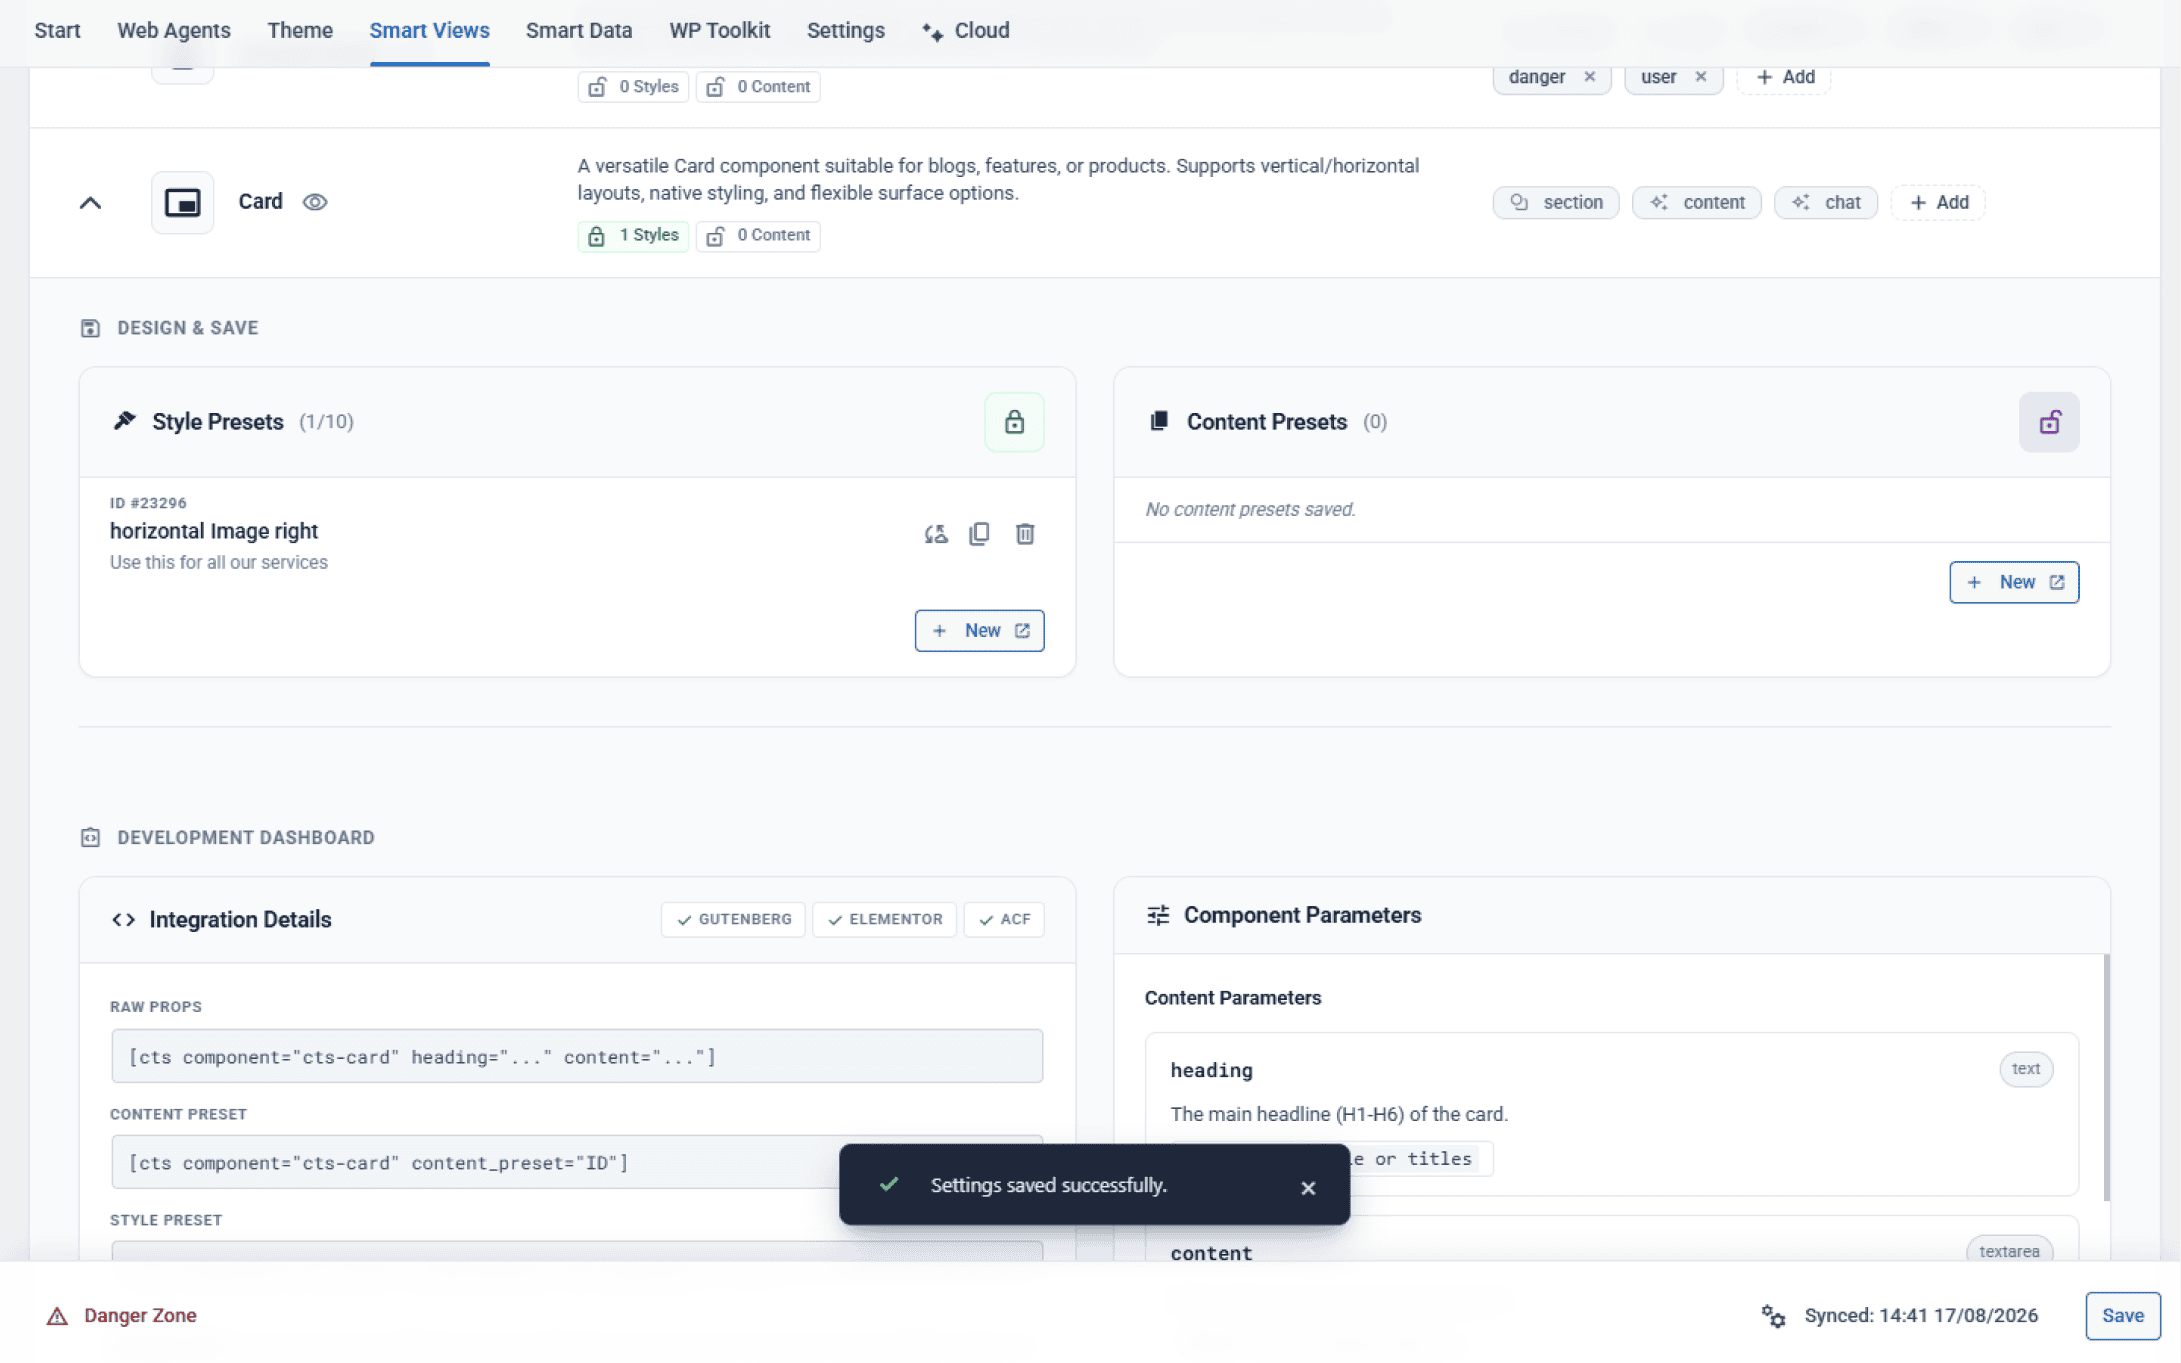
Always click the Save Changes button in the bottom floating action bar to commit your updated preset index and lock states to the database.
7. Controlling AI Selection with Smart Tags
While Style Presets define how components look, the Conturalis Smart Tag taxonomy defines where and when components are discovered by AI agents during automated layout generation.
To learn how to assign domain tags, define section roles, and control agent access rules, explore our in-depth guide on the Conturalis Smart Tag System.