Setup
Connecting your WordPress website to the Conturalis Cloud unlocks the full power of autonomous Web Agents, Smart Data grounding, and real-time component rendering. Follow this exact 9-step setup guide to authenticate your domain and launch your cloud connection.
1. Download the Conturalis WP Plugin
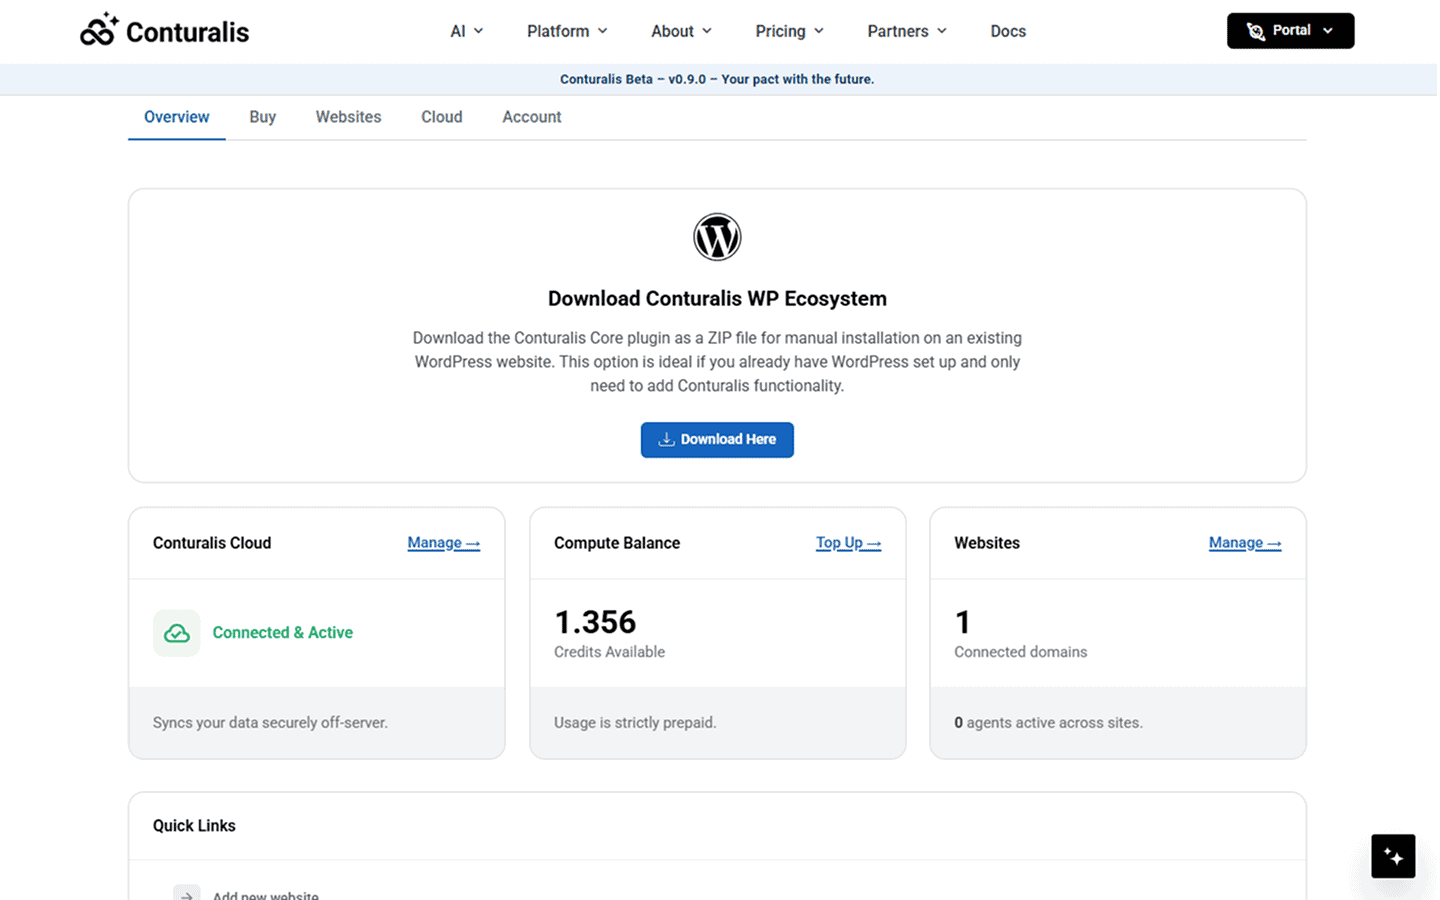
Log in to your Conturalis Portal dashboard. Under the Overview tab, click Download Here to save the core Conturalis WordPress plugin ZIP file to your local device.
2. Access the Conturalis Cloud
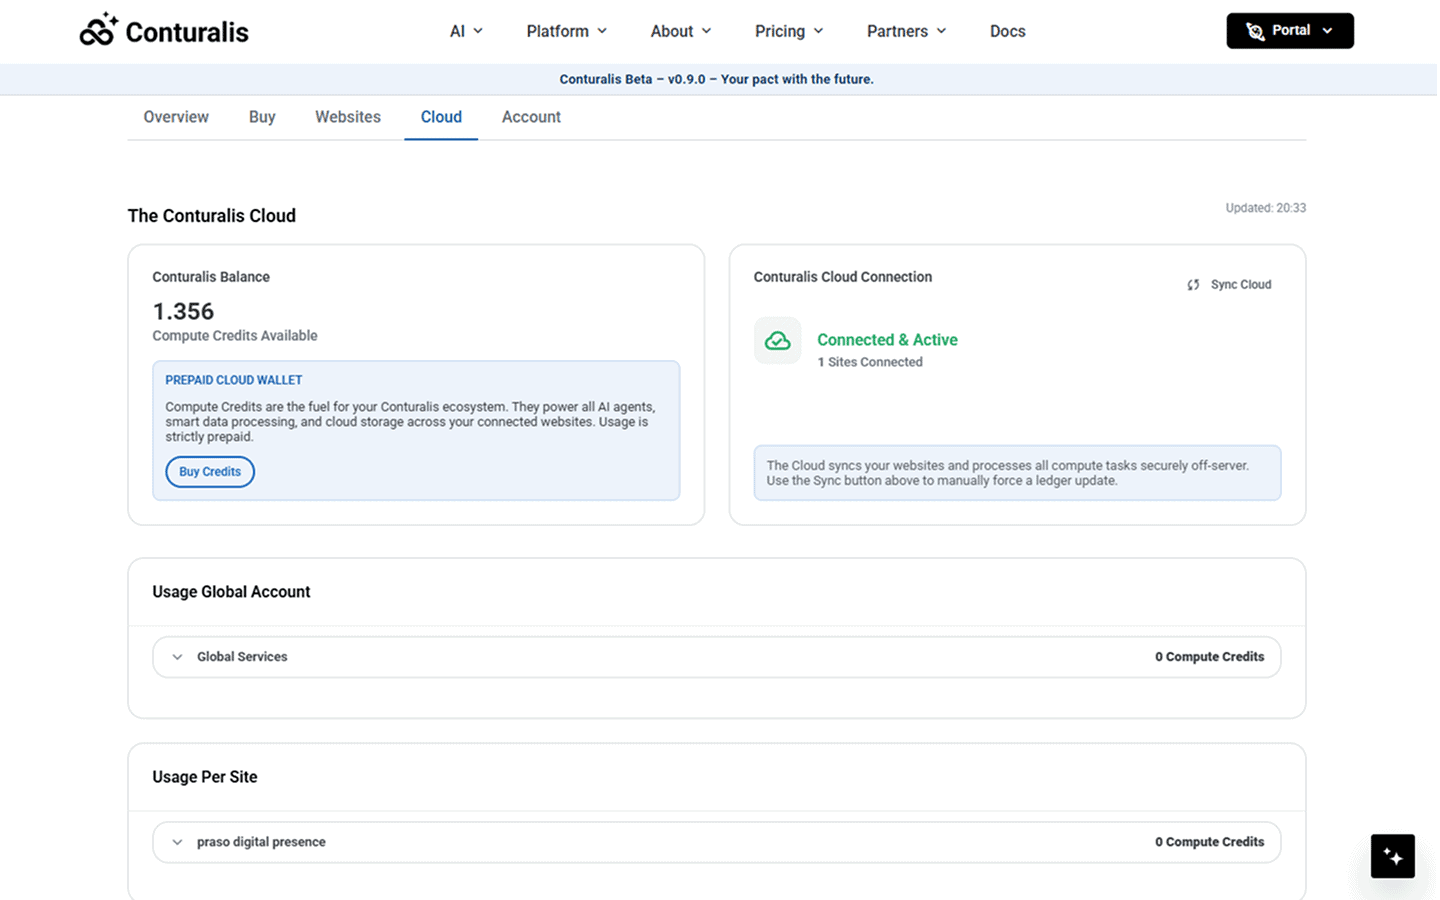
Navigate to the Cloud tab in the Portal navigation bar. Here you can review your Prepaid Cloud Wallet, sync connection states, and manage your ecosystem infrastructure.
3. Top Up Your Compute Credits
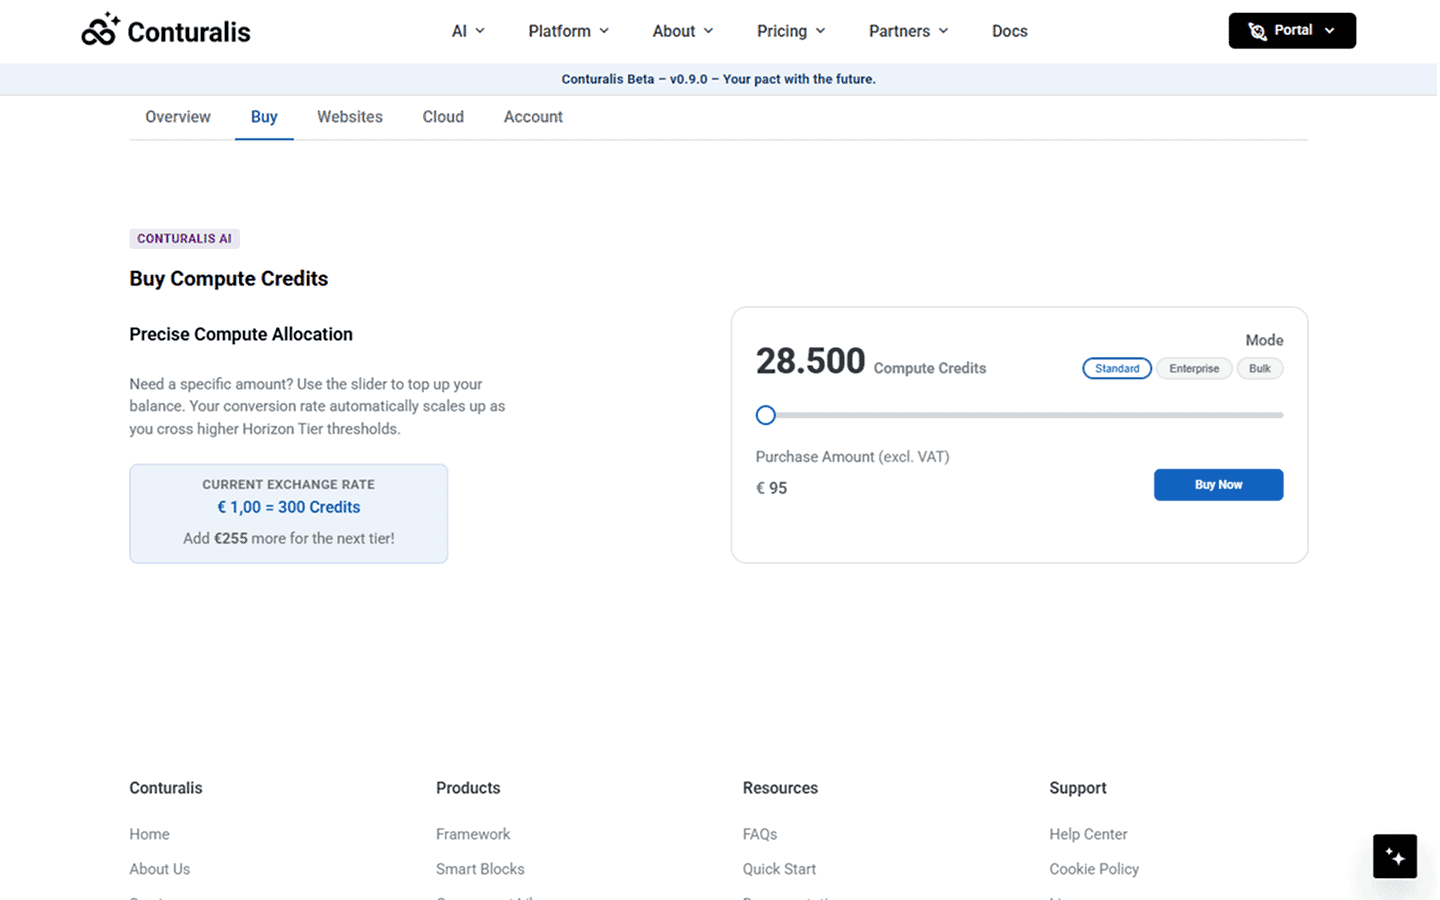
Go to the Buy tab in the Portal to ensure your account has sufficient Compute Credits. Use the volume slider to select your required allocation and complete the transaction.
4. Add Your Website Slot
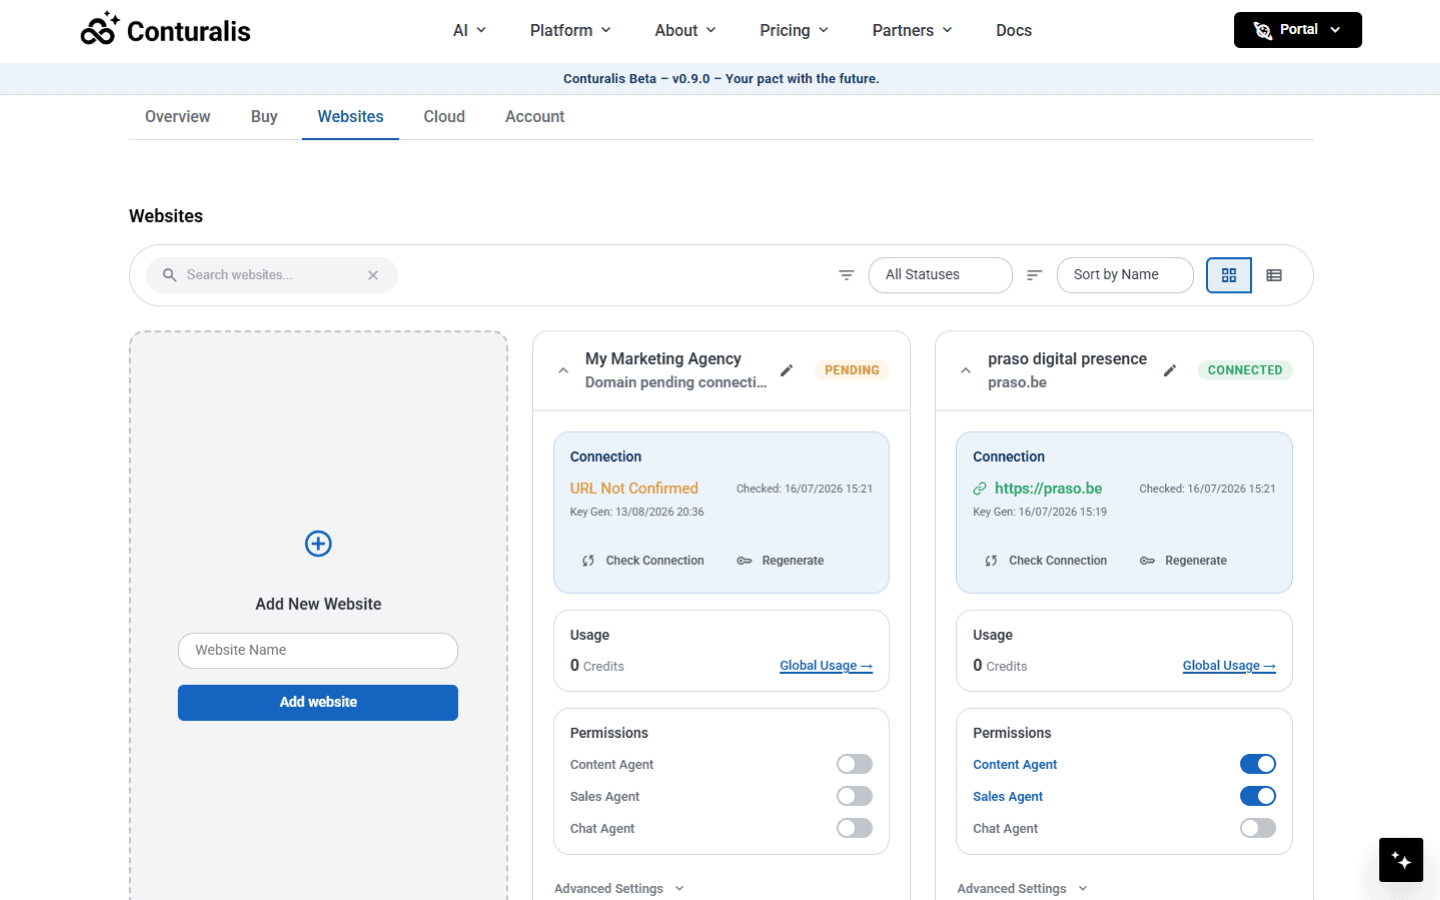
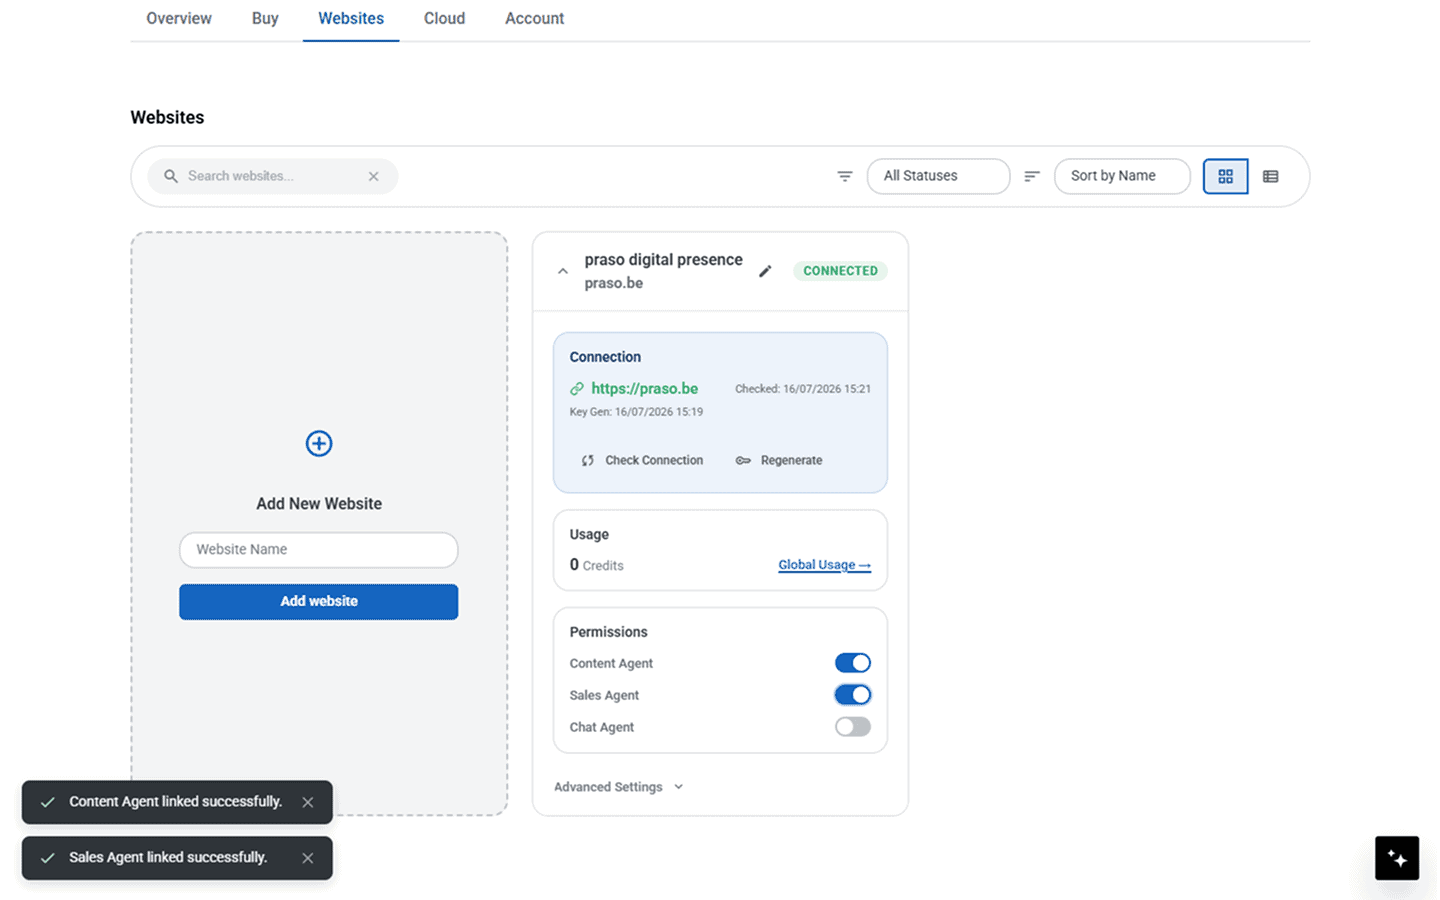
Head to the Websites tab. Enter your website name in the input field, toggle the specific Web Agent Permissions (Content Agent, Sales Agent, Chat Agent) you want enabled for this site, and click Add Website.
5. Request Your Activation Key
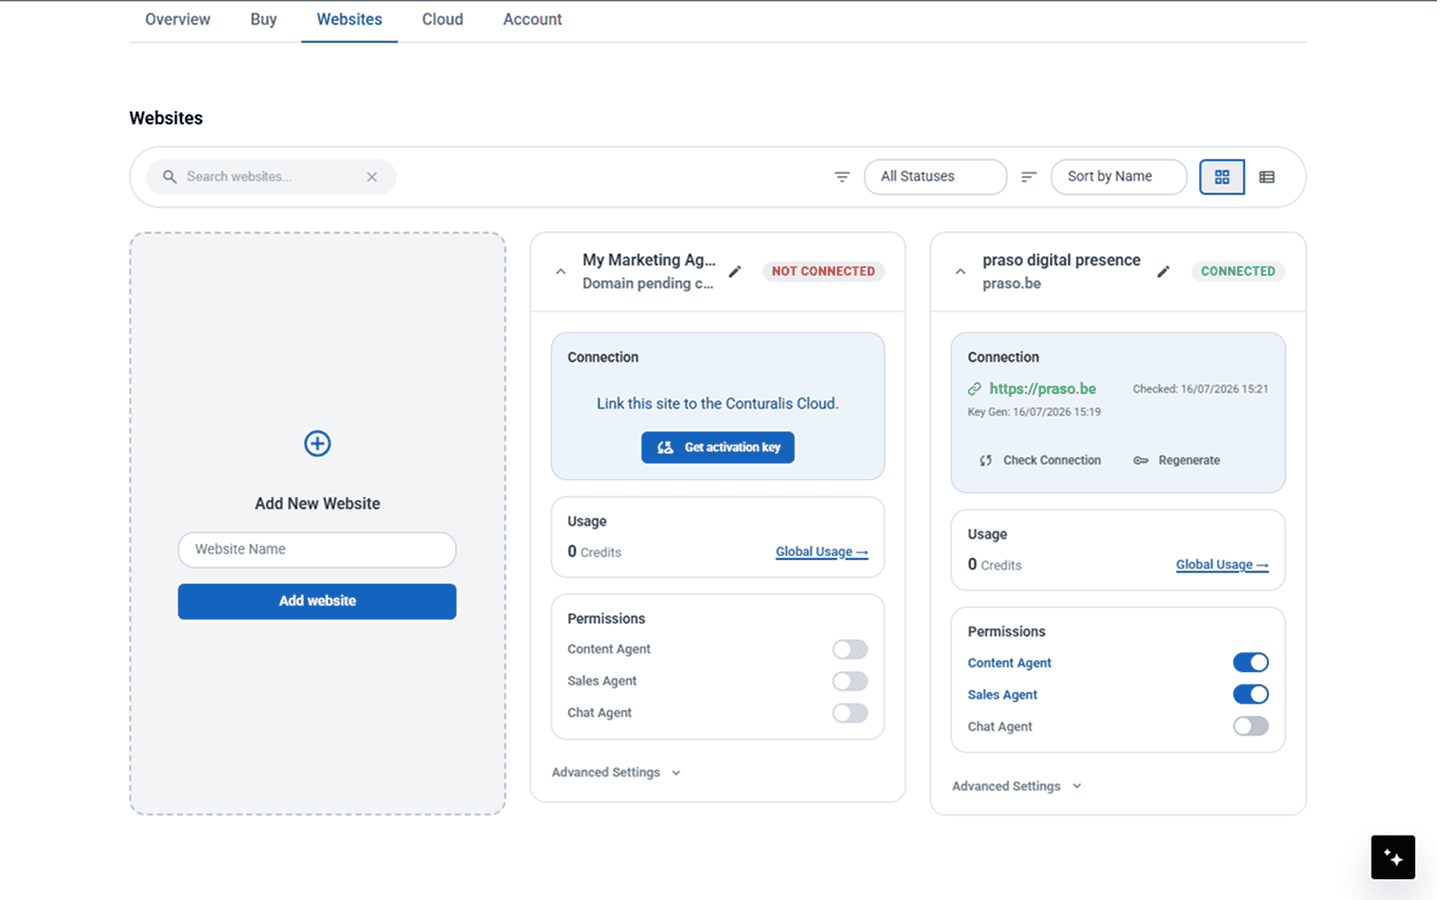
On the newly created website card, click the Get activation key button to initiate authentication token generation.
6. Copy Your Activation Key
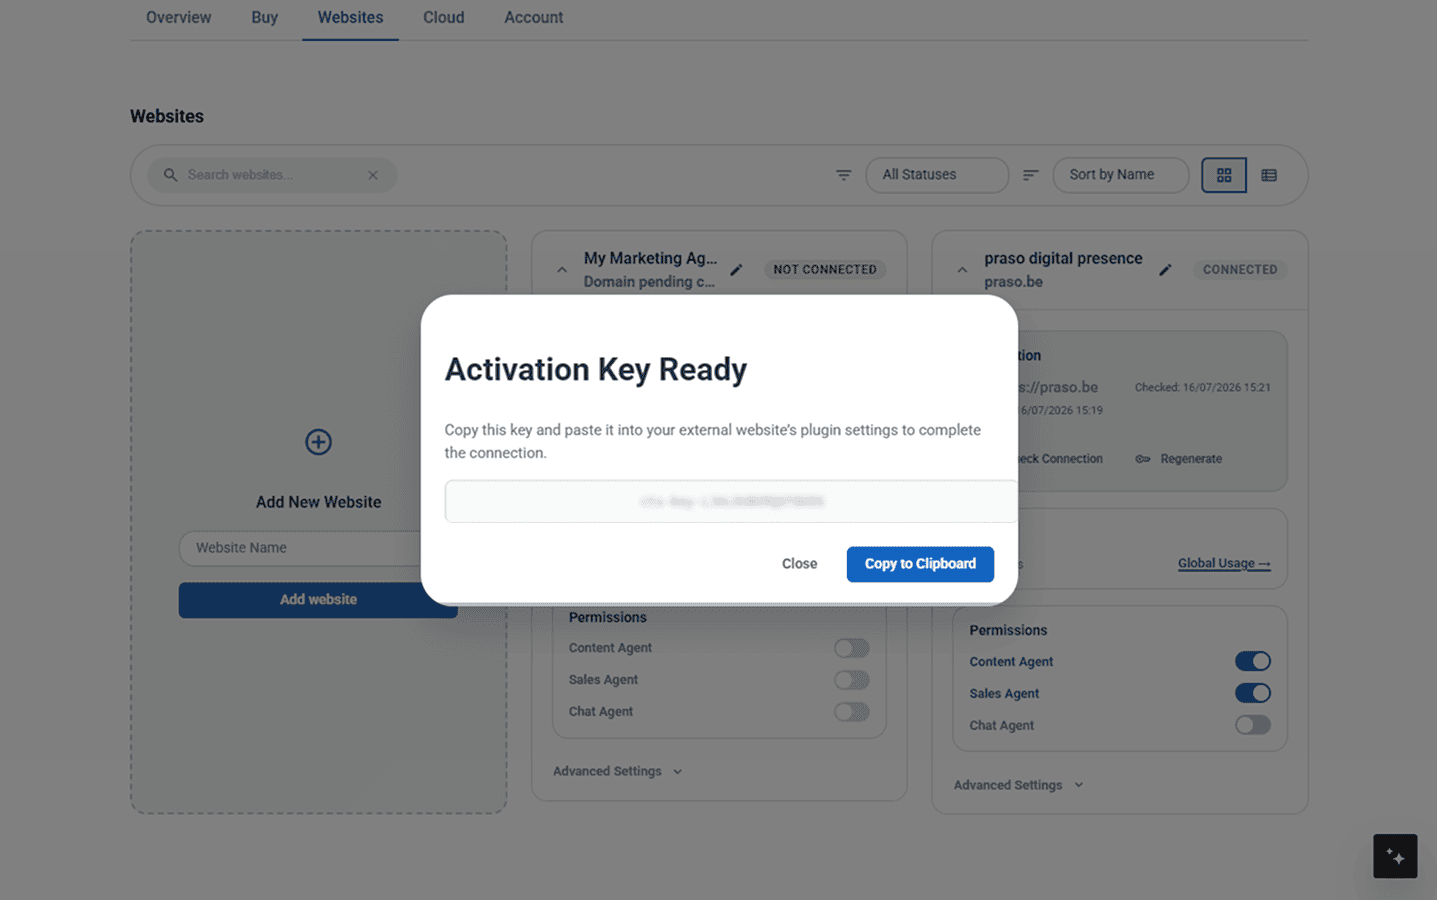
A popup modal will reveal your newly generated Activation Key. Click Copy to Clipboard and save it securely.
This single-use activation key is displayed only once. Make sure to copy it immediately, as you will not be able to view it again after closing the modal!
7. Install the Plugin in WordPress Admin
Open your WordPress admin dashboard. Navigate to Plugins > Add New > Upload Plugin, select the Conturalis ZIP file you downloaded in Step 1, install, and activate it. Once activated, navigate to Conturalis > Cloud > License in your sidebar menu.
8. Authenticate & Paste Your Key
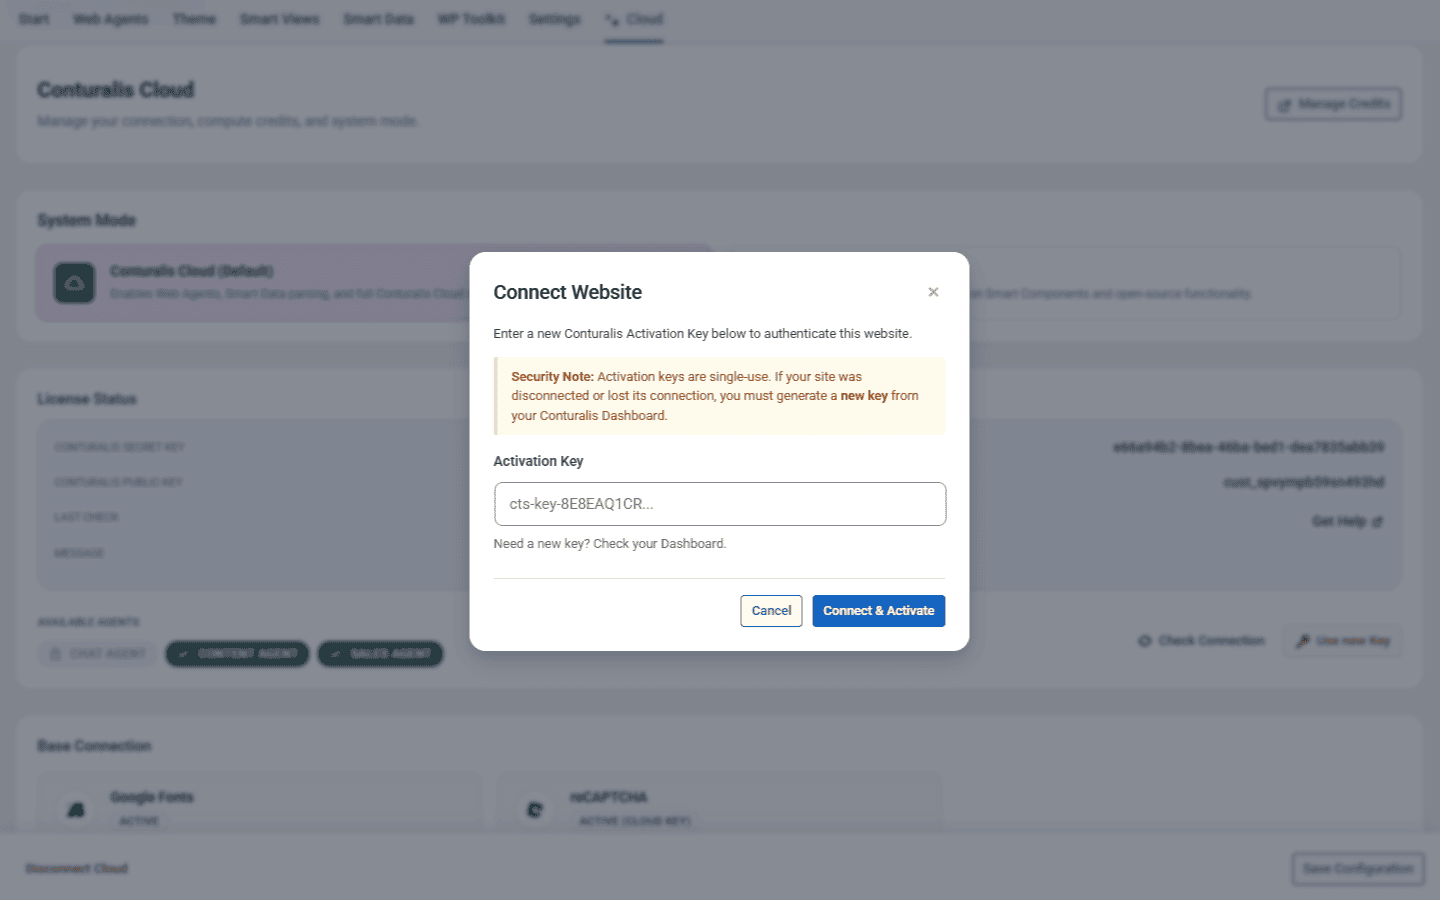
Click the Use new Key / connection button in your WordPress dashboard to open the authentication modal. Paste your copied cts-key-... activation key into the field and click Connect & Activate.
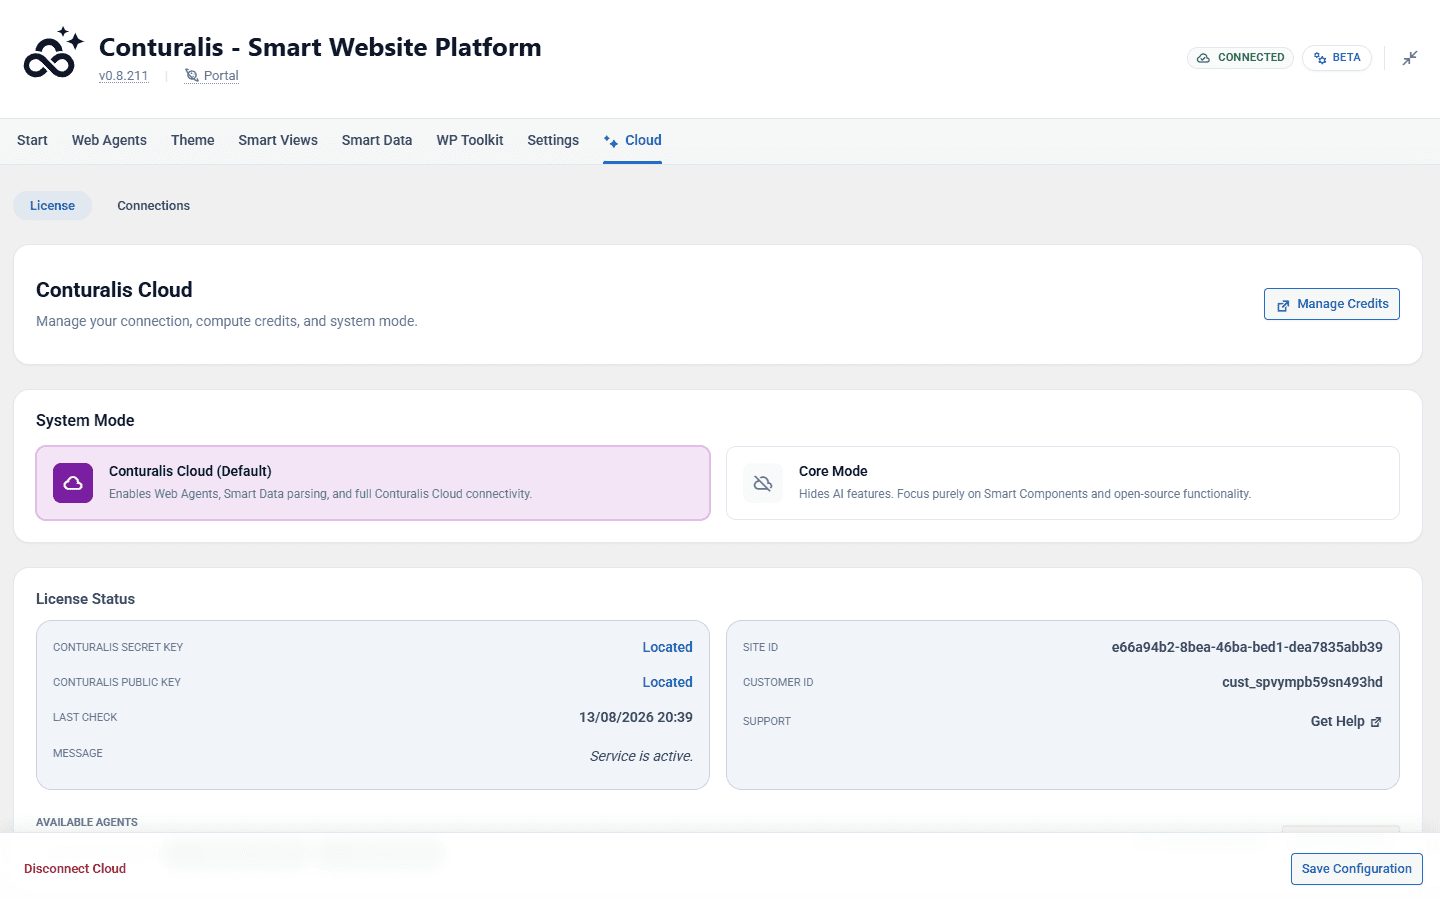
9. Verify Connection & Domain Coupling
Return to your Conturalis Portal dashboard. The website card will display a PENDING status until the platform completes its automatic domain verification check. You can speed up this process by clicking Check Connection. Once verified, the badge switches to CONNECTED, officially coupling your domain to your cloud web space.